
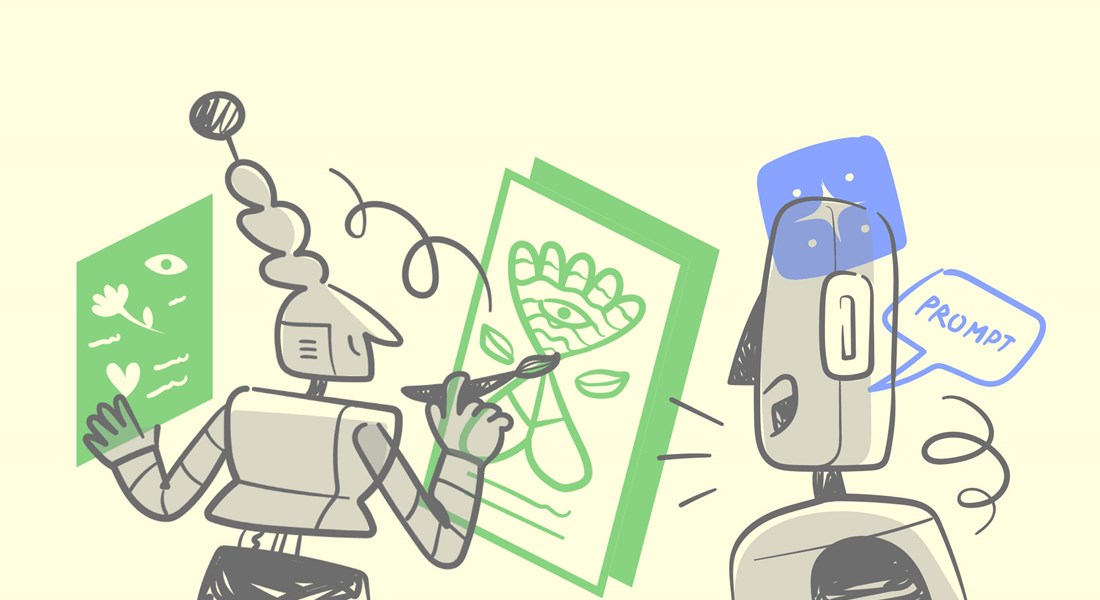
boost-ui-designs-with-illustrations-in-figma
Have you ever experiences something similar: You’re designing a sleek new app, and you’ve nailed the layout, typography, and color scheme. But something’s missing. The interface feels a bit lifeless, like a gourmet dish missing that pinch of salt.
That’s where you might want to add some illustrations to breathe life into your design, add character, and guide users through their journey. Let’s explore how you can effortlessly incorporate vibrant vector illustrations into your Figma projects.
Why Illustrations Matter in UI Design
Illustrations have the power to transform a mundane interface into an engaging, user-friendly experience. They can simplify complex ideas, evoke emotions, and enhance captivating storytelling. When used effectively, illustrations will drastically improve user engagement and make your design a lot more memorable.
 Import SVG files to Figma designs
Getting Started with Vector Illustrations in Figma
First, let's get those illustrations into Figma. Whether you download them from a digital illustrations library or create them yourself, importing them is simple. Drag and drop the SVG files into your Figma canvas, or use the ‘File’ > ‘Place Image…’ option.
Editing Illustrations in Figma
One of Figma’s many strengths is its robust vector editing capabilities. Here’s how you can tweak illustrations to fit your design perfectly, without any external software:
- Adjust Colors: Select the illustration, then use the color picker in the properties panel to change fill and stroke colors. For multiple elements, use the ‘Selection Colors’ feature to adjust colors uniformly.
- Modify Shapes: Double-click on any part of the illustration to enter vector edit mode. Here, you can move anchor points, adjust curves, and reshape elements to fit your design better.
- Layer Management: Figma’s layer panel helps you manage different parts of your illustration. Group related elements for easier manipulation and keep your workspace organized.
 Integrate illustrations into designs
Integrating Illustrations into Your Design
Here are a few practical examples of how to seamlessly integrate illustrations into your UI design:
- Onboarding Screens: Use friendly illustrations to guide users through the initial setup. They make instructions clearer and the process a lot more enjoyable.
- Empty States: Instead of showing a blank screen when there’s no data, use illustrations to explain what’s missing and guide users on what to do next.
- Error Messages: Softening the blow of an error message with a playful illustration can ease user frustration and make the experience less jarring.
- Interactive Elements: Enhance buttons, forms, and other interactive elements with small, illustrative icons to make the UI more intuitive.
And some general Tips for Effective Use of Illustrations
- Consistency is Key: Ensure the style of your illustrations matches the overall design language. Consistency in style, color, and line weight will make your design look polished and professional.
- Don’t Overdo It: While illustrations are great, too many can clutter the interface. Use them strategically to highlight important information and enhance user experience.
- Optimize for Performance: Large, complex illustrations can slow down your app. Simplify vector paths and reduce the number of elements to keep your design lightweight.
 Easily adjust illustration colors in figma
Customizing Illustrations to Match Your Brand
Figma’s awesome vector tools empower you to tailor illustrations to harmonize with your brand identity, ensuring cohesive and personalized UI designs. Here is a more in-depth guide on how to do each adjustment easily:
Color Schemes: Adjusting Colors
Select the Illustration: Click on the illustration you want to customize within your Figma canvas.
- Access the Fill and Stroke Properties:
- On the right-hand side of the screen, locate the properties panel (if not visible, press Ctrl+Shift+F or Cmd+Option+F to display it).
- Under the ‘Fill’ section, click on the color box to open the color picker.
- Match Brand Palette Colors:
- Use the color picker to select colors from your brand palette. You can either enter the hex code directly or adjust the hue, saturation, and brightness sliders to get the color your want.
- Apply the chosen color to the illustration's fill or stroke by clicking on the area of the illustration you’d like to change.
- Apply Consistent Colors Across Elements:
- For multiple elements within the illustration, use Figma’s ‘Selection Colors’ feature. Select all relevant parts of the illustration, then adjust the fill and stroke colors simultaneously to maintain consistency across your design.
Simplifying Elements: Streamlining Complex Illustrations
- Enter Vector Edit Mode:
- Double-click on the illustration to enter vector edit mode. Alternatively, right-click on the illustration and choose ‘Edit’ from the context menu.
- This action reveals anchor points and paths, allowing for precise editing of individual elements.
- Refining Shapes and Details:
- Simplify complex shapes by deleting unnecessary anchor points or merging overlapping paths. Use Figma’s ‘Boolean operations’ (Union, Subtract, Intersect) to combine or subtract shapes for cleaner designs.
- Maintaining Minimalist Aesthetics:
- Remove extraneous details that do’t contribute to the illustration's core message or design intent. Simplify shapes and reduce intricate elements to maintain a minimalist UI design approach.
Illustrations can significantly enhance your UI designs by adding depth, guiding users, evoking emotions, and thus making the interface more engaging. Figma’s powerful tools make it very easy to import, edit, and integrate vector illustrations into your projects.
By following the best practices I have outlined and using high-quality illustrations strategically, you can create memorable and user-friendly designs. Happy designing!
Powered by Froala Editor
Share this article
We hope you enjoyed reading this article, to receive more of our updates, inspiration and highly detailed tutorials on illustration and icon design.
Join our mailing list, we don’t spam or share emails!
More articles from the blog
Human made illustrations in the Era of Ai
In the age of artificial intelligence, human-made illustrations continue to hold a unique place in the creative landscape. While AI-generated art has made significant strides, there are several reasons why human illustrations remain valuable
Saturday, 30 November 2024
illustrations UI/UX
Understanding Commercial Licenses and Royalty-Free Stock Illustrations
So, you've found yourself in the dazzling world of design. Congrats! Whether you're crafting a snazzy website, a killer ad campaign, or simply trying to make your next PowerPoint presentation less yawn-inducing, stock illustrations are your way to go
Monday, 22 July 2024
illustrations UI/UX
Unveiling The Creative Process on How We Draw Our Vector Illustrations
Providing transparency during any creative process is key - It helps build relationships with user-trusted content about artwork development methods and fosters connection between its creators and followers.
Monday, 5 June 2023
TutorialsWe’ve prepared something special for you
- 25% Discount code: Hunters25Off
- A special illustration pack for product hunt And your stack - Free Download