How to Turn a Drawing Into a Vector That Still Looks Hand Drawn
Turn a drawing into a vector that keeps its hand drawn line: photograph it with a phone, trace it free in your browser, colour under the lines, export SVG.

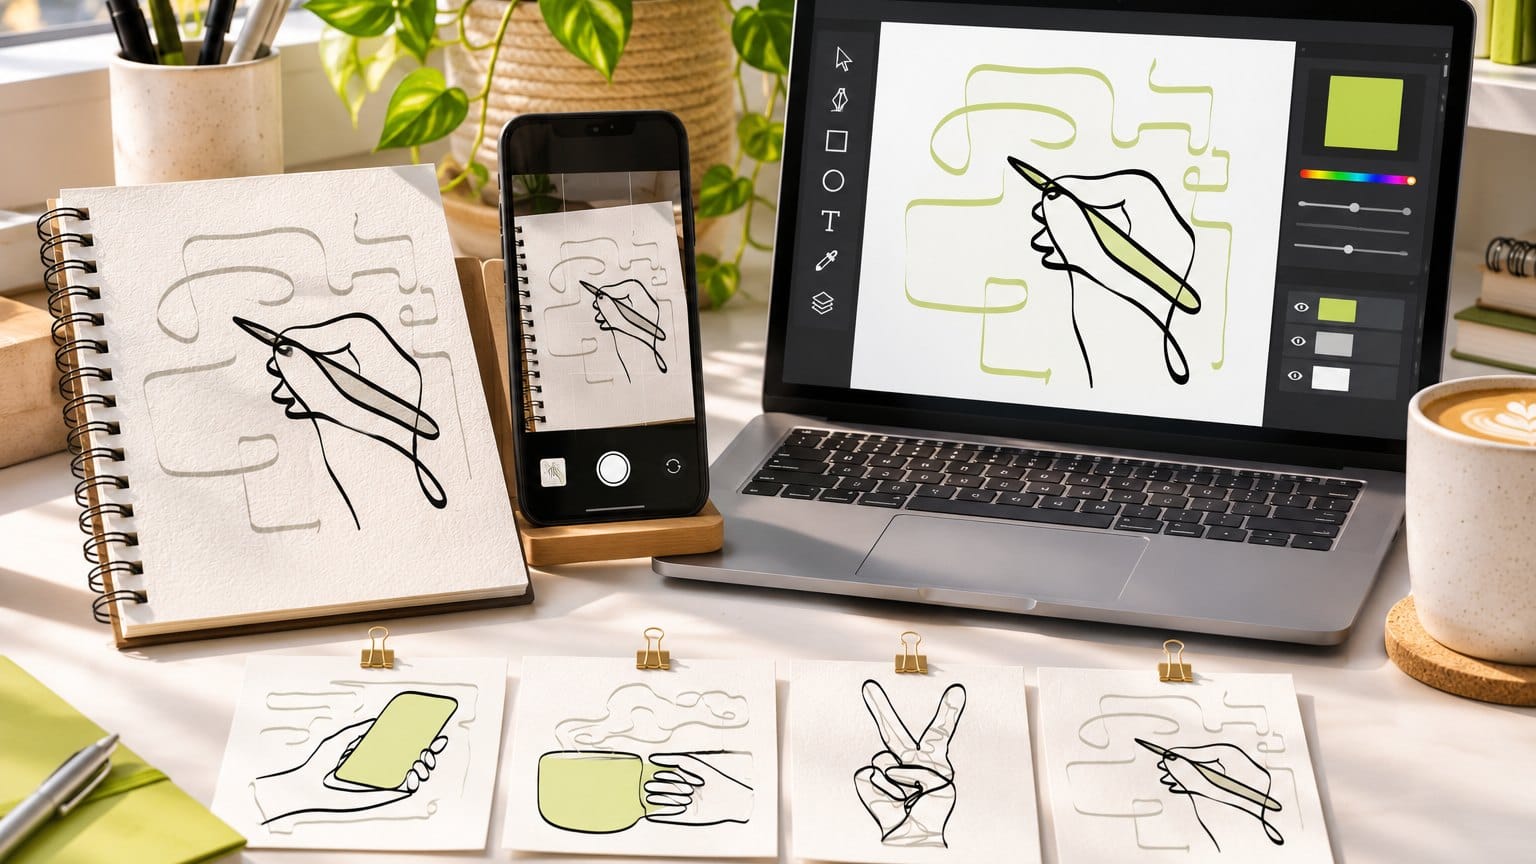
You've got a pen drawing on the kitchen table that you like, and a phone. The client wants it on the website by Friday, as an SVG, in two brand colours, sharp at any size. Every guide you open starts at a flatbed scanner and ends in Illustrator, and the result looks like a logo, not your drawing.
This guide shows how to turn a drawing into a vector starting from what's on your table, the paper and the phone. You'll photograph the drawing so it traces cleanly, trace it for free in Vectorizer Lab with settings that keep the wobble and the taper, colour it under the lines, and export a layered SVG plus a transparent PNG. Illustrator and Inkscape get their own section, and so do the limits.
What you need to turn a drawing into a vector
A pen drawing on white paper, a phone and a browser
Ink on plain white paper traces best. Pencil works if the lines are dark and you push the paper to white first, which we cover below. Textured watercolour paper and lined notebook pages give the tracer things to trace that you never drew.
If it's still a rough sketch, with three searching lines where you mean one, ink the line you want with a fineliner and rub the pencil out once it's dry, or trace the sketch onto a clean sheet taped to a bright window. A tracer can't tell a construction line from the real one, so it traces every one of them. That inking pass is how a sketch turns into line art, and no tracer does it for you.
The phone is your scanner and the browser is the tracer: Vectorizer Lab is free, needs no account, adds no watermark and does the tracing in your browser. It's a tracer with two engines and a quality score, not an AI model guessing at what you meant. That suits how we work, because every illustration in our library begins with a human illustrator.
What a vector gives you that the photo cannot
A photo of a drawing is pixels. Scale it up for a hero banner and the line goes soft, change the ink colour and you're painting pixels one by one. A vector stores the shapes as paths, so the same file is crisp at icon size and poster size, and the line colour is one value you can change.
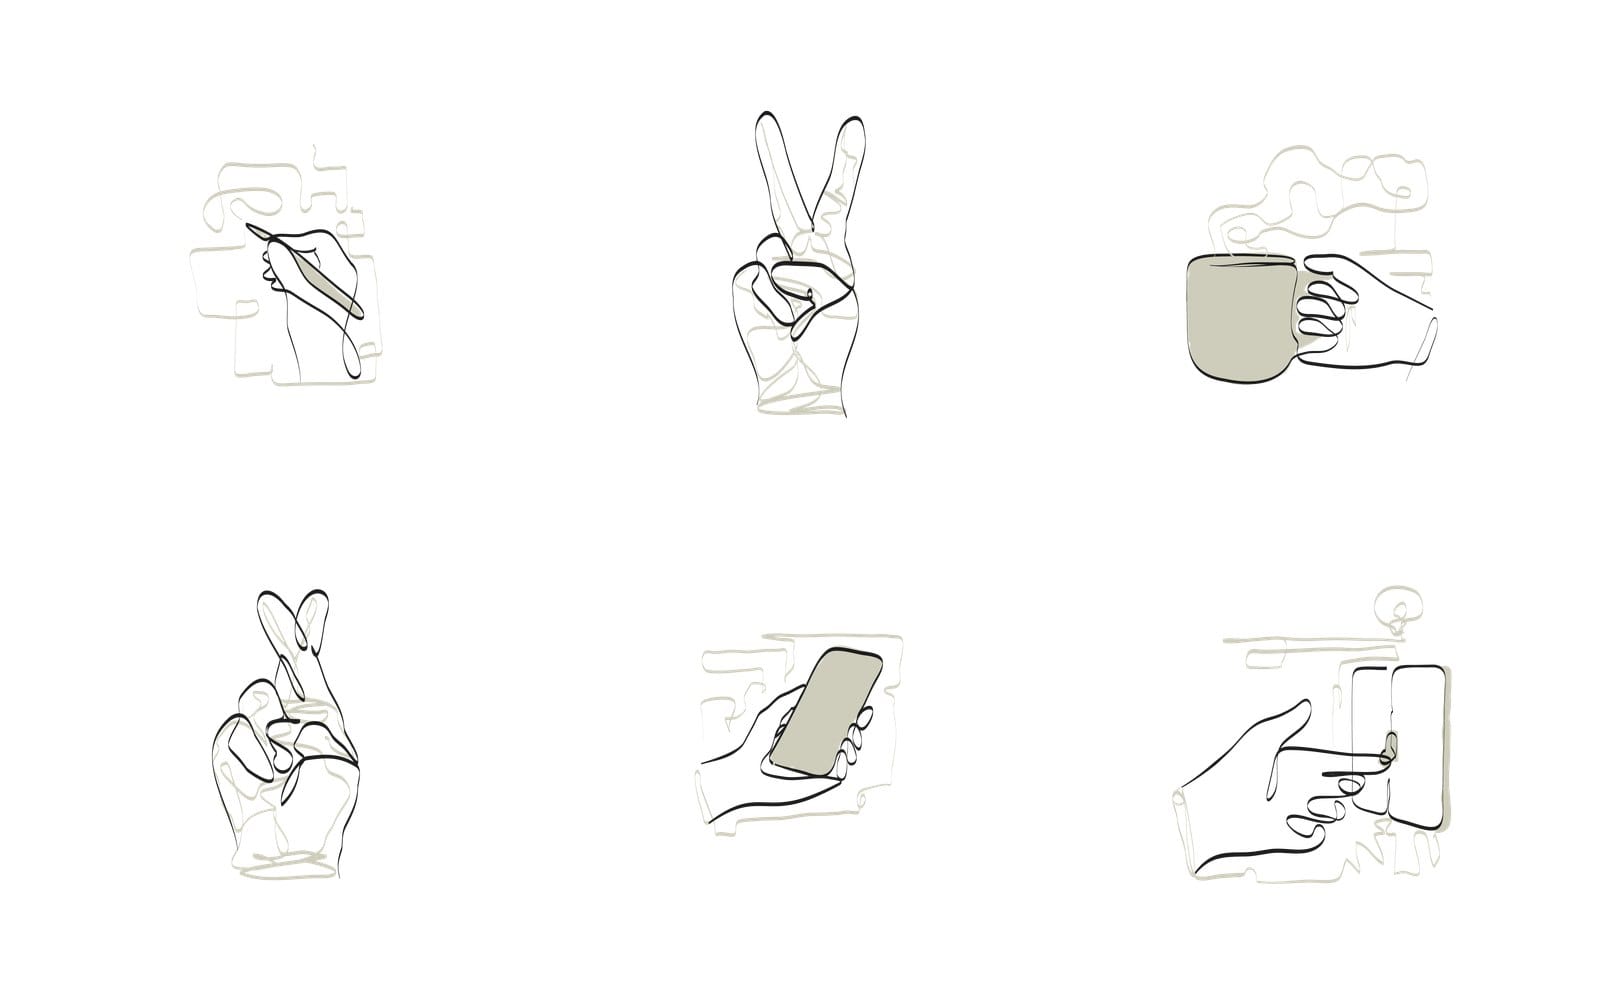
That matters the moment the drawing leaves the page. Look at the continuous line hand gestures below, drawn by one of our illustrators: even line weight, round ends, no paper tone, and they drop into a Figma frame at any size. That's the target you're tracing towards.
What a tracer can and cannot fix
A tracer follows the edges between colours. It can't straighten a page you shot at an angle, lift a shadow out of the paper, or decide that a grey smudge isn't ink. Vectorizer Lab has no levels or threshold slider either, so the photo has to arrive clean.
What it can do is turn a clean two tone photo into paths that look like the pen made them, if you give it the right settings. Most of the work in this guide is the ten minutes before you press Convert.
How to photograph a drawing so it traces cleanly
Light it from a window, not a lamp above the page
Put the drawing on a table beside a window in daytime, with the light coming across the page. A lamp straight above puts your phone's shadow on the paper, and the tracer will faithfully trace that shadow as a grey shape. Switch the flash off too, it makes a bright hotspot in the middle and dark corners.
If one side of the page is darker than the other, stand a sheet of white paper opposite the window to bounce light back. A cheap trick that saves a lot of cleanup.
Fill the frame and shoot square on
Hold the phone parallel to the page, directly over the drawing, so the paper's edges run straight in the viewfinder. Get close enough that the drawing fills most of the frame. Resolution is free detail for the tracer, and a drawing that takes up a quarter of the photo has a quarter of the pixels.
Tap the drawing to focus, then hold still. Take three shots and keep the sharpest, you'll see the difference when you zoom in on a thin line.
Use the phone scan mode to straighten the page
iPhone and Android both have a document scan mode. On iPhone it lives inside Notes (the camera or attachment button in a note, then Scan Documents), and on Android it's in Google Drive (the plus button, then Scan). Scan mode finds the paper's corners, straightens the page and evens out the lighting a little, and the greyscale or black and white filter is worth picking if it offers one.
Both usually save the scan as a PDF, which Vectorizer Lab won't open, so share it as an image if your app offers that, or skip scan mode and straighten the photo with the perspective tool in the crop screen of Apple Photos or Google Photos. Either way, save the result as a JPG or PNG. The Vectorizer Lab drop zone says it plainly: HEIC photos should be exported as JPG first.
Push the paper to white and the ink to black before tracing
Open the photo in your phone's editor and raise Brightness and Contrast until the paper is pure white and the ink stays black. On iPhone, Black Point pulls the ink to black and Highlights takes the paper the rest of the way. You want two tones, not a grey page with dark grey lines on it.
Check the corners. If one is still grey, crop it off rather than fighting it, a trace is only as clean as its dirtiest corner.
How to vectorize a sketch for free in your browser
Open Vectorizer Lab and drop the photo
Open the Vectorizer Lab studio and drop the cleaned photo onto the page, or paste it from the clipboard. It takes PNG, JPG, WebP, GIF, AVIF or SVG, one file or several. One thing to know before you drop: every file you add is copied to our server, so don't drop a drawing you'd rather keep private.
Pick the Line art preset and press Convert
In the Engine panel, open Preset and choose Line art, listed with engraving after it. It's the preset built to keep thin strokes and hatching, and it sets the seven sliders in the table below in one go. Press Convert, or Ctrl and Enter (Cmd on a Mac), and the first vector appears on the stage.
| Setting | Line art preset | What it does for a drawing |
|---|---|---|
| Colours | 4 | Ink, paper and up to two greys. Drop it to 2 for plain ink on white. |
| Min region area | 4 px | Regions smaller than this dissolve into their neighbour. Low keeps dots, and dust. |
| Keep small details | 10 | A speck or thin line survives when it contrasts with the paper by more than this. Lower keeps more hatching. |
| Boundary smoothing | 0 | No smoothing passes, so the wobble of the pen stays in. |
| Corner threshold | 100 degrees | Only a very sharp turn becomes a corner, so a pen line stays one flowing curve. |
| Simplify tolerance | 0.8 px | How far a curve may stray from the traced edge. Higher means fewer nodes. |
| Merge touching regions | 0 | Neighbouring shapes are never merged, so a line stays separate from a fill. |
Set Colours to 2 to 4 and press Remove background
The preset sets Colours to 4, which is right for a drawing with a grey wash. For plain ink on white, drag Colours down to 2 and Convert again, so there's nowhere for a grey halo to live. Then press Remove background in the toolbar above the drawing: it hides the largest shape touching the image edges and every edge touching shape of its colour, and the export leaves it out.
Pressed it by mistake? Press it again and the background comes back.
Let Auto refine it with the balance slider low
Auto runs a search instead of guessing: 16 candidates per engine on Fast, 37 on Balanced and 52 on Thorough, across up to 4 workers, each scored against your photo. Drag Auto balance down to 10 or 20 before you press it. At 0 it keeps every detail, at 100 it aims for the fewest nodes, and a drawing wants detail.
Press A, or the Auto button, and watch the log. The tool's own steps put it at about a minute. Hover a row in the Auto search table on the right to preview that candidate, and click it to apply.
Auto searches the colour count and the smoothing as well, so it can undo the settings above. To hold a plain ink drawing at two colours, lock the palette to black and white before you press Auto (Lock a brand palette, further down, shows how), because a locked palette keeps the count fixed.
Check the trace with Compare and Difference
Switch View to Compare and drag the wipe handle across the drawing, or pick Onion skin to fade the vector over the photo. Difference paints where the vector and the photo disagree. The score compares the two in CIELAB and weights edges and thin lines up to five times, so a lost hatching stroke pulls the score down where you can see it.
How to keep the hand drawn look in the vector
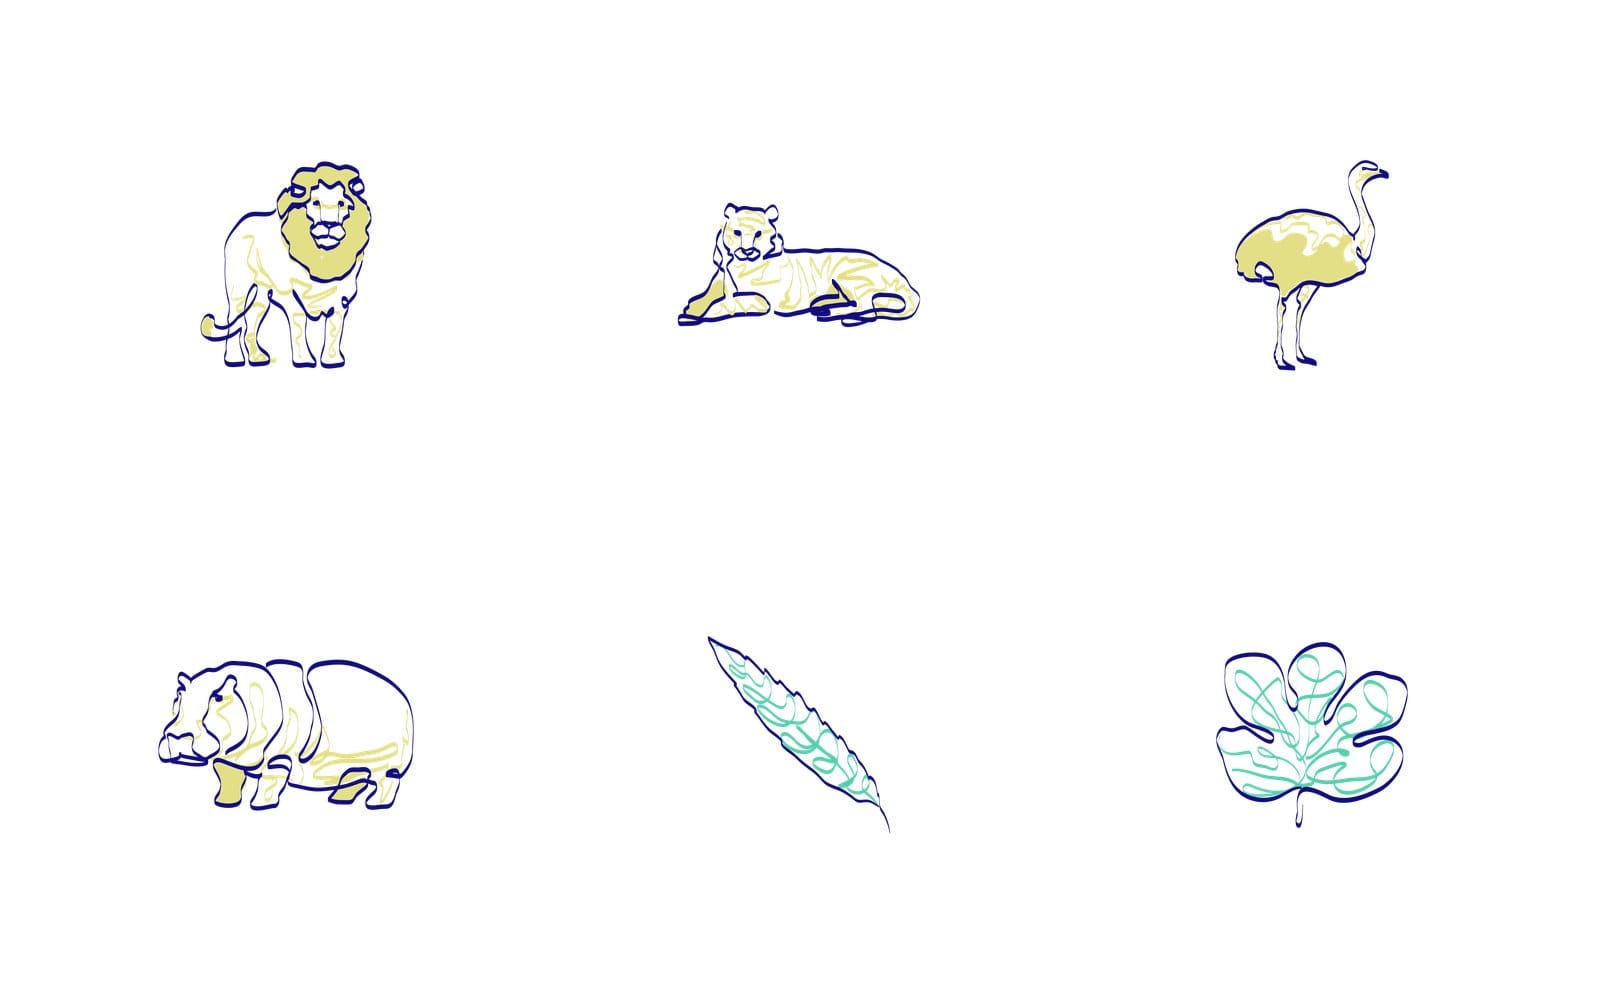
Look at the lion and the tiger above, from one of our continuous line packs: the outline wobbles, it crosses itself, the inner yellow scribble tapers to nothing. A logo tracer would straighten all of that, and the four settings below stop it. They sit in the two folded panels on the left, Sampling and cleanup and Curves and output, so click those open first.
Even pen lines as strokes, tapered brush lines as filled bands
Draw even lines as SVG strokes, under Curves and output, is ticked by default. A line whose width holds along its length becomes one stroked centerline, so in Figma or Illustrator you change its weight with one number. A brush line that tapers, or a line cut at an angle, stays a filled band, and that's the right call: a band keeps the taper, a stroke would throw it away.
If you want every line as a band, for a cutting machine or a screen print, untick it.
Keep small details and Min region area for hatching and dots
Min region area is the size below which a region dissolves into its neighbour, 4 pixels on the preset. Keep small details is the exception: a speck or a thin line survives when it contrasts enough with the paper and is at least half the min area. The preset sets it to 10, and lower keeps more texture while higher lets Min region area clean harder.
Stipple shading and cross hatching live or die here. If the hatching vanished, lower Keep small details first, then Min region area. For a drawing shaded mostly in dots, start from the Halftone preset instead, which is built to keep every dot of a screen or stipple.
Boundary smoothing at 0 keeps the wobble
Boundary smoothing is how many smoothing passes run before the curves are fitted. The tool's hint says one or two passes take out the pixel staircase and more start rounding small shapes, and the small wobbles of a pen line tend to go with them. The preset leaves it at 0, and since Auto searches smoothing too, check it's still 0 after an Auto run if the line looks ironed flat.
Corner threshold at 100 degrees handles the other half: only a very sharp turn becomes a corner, so a pen line stays one flowing curve. If a thick line shows a stepped edge at 0, try 1 before you touch anything else.
Trace scale for a small or soft photo
Trace scale upscales the image before tracing so the boundaries land between pixels, then scales the curves back down. 2x is the default and the sweet spot. If your photo is small or a touch soft, try 3x or 4x, and if it's badly soft, run it through Upscaler Lab first and trace the result.
How to colour a traced drawing under the lines
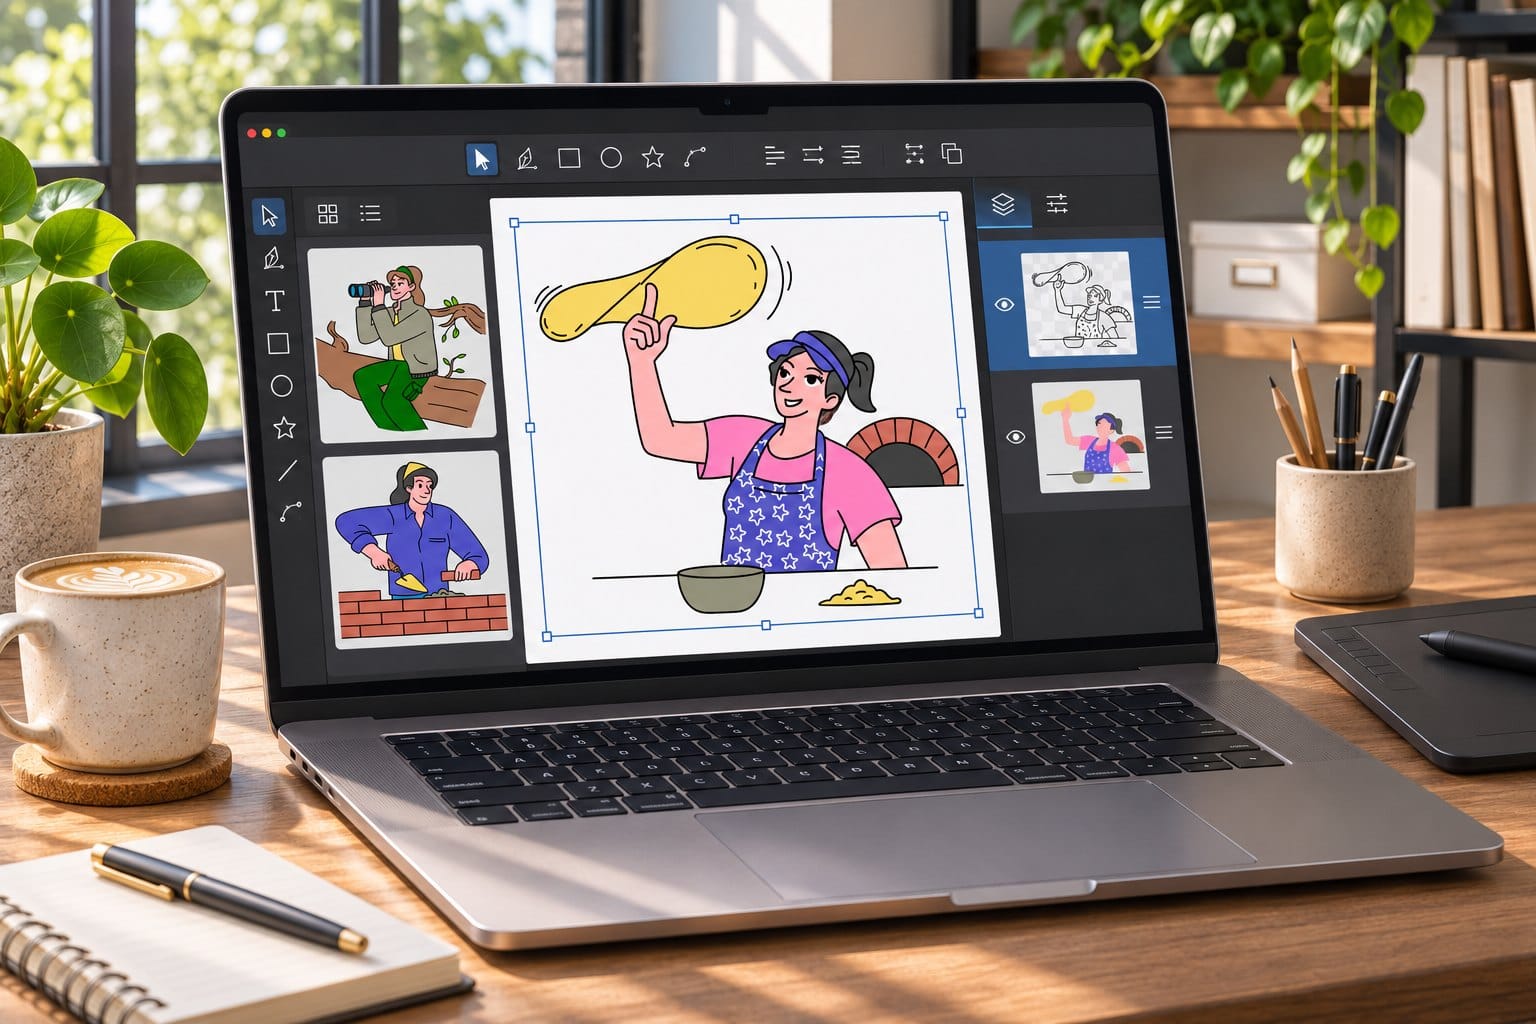
The classic mistake is to recolour the fills and watch the lines turn pink with them. The fix is layer order: lines on top, colour underneath, the way the mockup above has it. Two settings in the tool set that up before you export.
Export with Cutout layering so the lines are their own layer
Layering has two modes. Stacked, the seam free option, puts big shapes first and smaller ones on top. Cutout cuts holes so shapes never overlap and groups them per colour as named layers, which is what you want here: the black ink lands in its own layer, and any paper you kept in another.
Switch Layering to Cutout under Curves and output, Convert once more, and look at the Layers panel on the right. Untick a layer to hide it, click its swatch to recolour it, and the export follows what you see. Leave Tracer on Native for this, because the panel lists colour layers for that engine only.
Paint fills on a layer under the lines in Figma or Inkscape
Open the SVG in Figma (drag it onto the canvas) or in Inkscape. Lock the line layer, make a new layer beneath it and paint flat shapes with the pen tool, slightly oversized, so the ink covers their edges. Nobody notices colour that runs under a line, and everyone notices colour that stops short of it.
Recolour the whole drawing in the SVG Color Editor
For a quick palette change, drop the SVG into our free SVG color editor, where each colour is one swatch. Change the ink from black to navy and the fill from grey to lime, then download. Handy when a client wants three colourways before lunch.
Lock a brand palette before you trace
Open Brand palette lock in the Colour panel, paste your brand colours into the Hex colours box or press Take the last result's colours, then tick Use only these colours. Every region and line snaps to the nearest colour on the list. Trace a black drawing with a lock of navy and cream and the vector arrives in brand colours with nothing to recolour afterwards.
How to export the vector as SVG and transparent PNG
Download SVG at the real size, with Trim on
Download SVG writes the vector file at the image's real size. Tick Trim the export to the visible content first, so the SVG's box hugs the drawing instead of the whole photo. Copy SVG puts the same markup on the clipboard, and Palette downloads the visible colours as CSS custom properties and a JSON list.
PNG at 1x, 2x or 4x on a transparent background
The PNG button exports at 1x, 2x or 4x with a Transparent, White or Black background, and Copy PNG does the same to the clipboard. For a website, take the widest size the drawing will show at, double it for retina screens, and pick the smallest option that reaches it, which for a phone photo is often 1x. Keep 4x for a small drawing that's going on a poster.
Our guide on exporting a vector as a transparent PNG goes through the size maths.
Copy SVG straight into Figma as editable shapes
Press Copy SVG, click a Figma frame and paste. Figma reads the markup as vector shapes, strokes as strokes and bands as filled paths, grouped by the layers you set. No file on disk, no import dialog.
How to turn a drawing into a vector in Illustrator or Inkscape
If you already pay for Illustrator, or you'd rather stay in Inkscape, the same cleaned photo works there too. The steps below follow the panel labels, and the photo preparation above matters just as much.
Illustrator: Image Trace, Black and White, Expand
Place the photo, select it and open Window, then Image Trace. Set Mode to Black and White, tick Preview, and drag Threshold until the paper disappears and the thin lines still hold. Under Advanced, tick Ignore White, lower Noise so small hatching marks survive, nudge Paths and Corners while you watch the line, then press Expand to get real paths.
Out of the box, Image Trace turns every line into a filled band, so you change a weight by offsetting the path rather than typing a number. Under Advanced, Create can switch from Fills to Strokes, which turns lines up to the Stroke width into stroked paths. That's worth a try on an even pen line, but a tapered brush line can lose its taper that way.
Inkscape: Trace Bitmap, Brightness cutoff, Remove background
Import the photo, select it and open Path, then Trace Bitmap. Under Single scan, choose Brightness cutoff as the detection mode, set the threshold until the paper drops out and the thin lines hold, and press Apply. The trace lands on top of the photo, so drag it aside and delete the photo underneath.
Brightness cutoff traces only the dark ink, so the paper never becomes a shape. For a drawing with a grey wash, Multiple scans keeps the greys as separate shapes, and its Remove background option leaves the paper out.
Inkscape is free and it's a fine route. What it lacks is a scored search, so you judge each pass by eye, zoomed in on the thinnest line, and a drawing with hatching can take a few passes to get right.
What to do when the sketch to vector trace goes wrong
Broken or dotted lines
Thin pen lines that photographed as mid grey break up when you push the contrast. Go back to the photo and darken the ink before you brighten the paper, or go over the faint lines with the same pen and shoot again. In the tool, lower Keep small details and raise Trace scale to 3x.
A page shadow that became a shape
A soft edged grey shape along one side is your shadow or the lamp falling off. Crop it away in the photo editor if it sits near the edge. If it runs across the drawing, reshoot by the window, it's quicker than any cleanup.
A grey halo around every line
Phone sharpening leaves a lighter or darker fringe beside dark lines, and with Colours at 4 the tracer gives that fringe its own layer. Set Colours to 2 and Convert again, and check that Remove halos under Sampling and cleanup is still ticked. If a halo layer still appears, untick it in Layers and the export leaves it out.
Too many nodes to edit
A wobbly line costs nodes, there's no way round that. If Figma gets sluggish, raise Simplify tolerance from 0.8 to 1.5 and Convert, or type a node count into the Fit in box under the export buttons and press Fit budget, which searches the simplification for you. Press N to see the anchors and judge how far you can go before the wobble flattens out.
Can you use a vectorized drawing commercially
Your own drawing stays yours
Anything you make from your own images in Vectorizer Lab is yours to use however you like, whether that means selling prints of it or shipping it in a client's product. The tool adds no watermark to the export either.
Where copyright draws the line with AI
Tracing is a tool, like a scanner. The US Copyright Office report on copyrightability, published on 29 January 2025, holds that human authorship is required, that a work generated entirely by AI is not copyrightable, and that using AI as a tool to help the human creative process doesn't make a work uncopyrightable. A vector you traced from your own pen drawing sits comfortably on the human side of that line.
It's one more reason every illustration in the GetIllustrations library begins with a human illustrator. Four packs are labelled Remixed by AI, so not every drawing in them was literally drawn by hand, but those four begin with a human illustrator too.
What the pack licence says if you trace our illustrations
Run one of our illustrations through the tracer and the vector follows the licence of the pack it came from. Paid packs carry a perpetual, royalty free licence, you pay once and keep using it. Free packs can go into personal and commercial work with a visible credit, and the details are on the licence page.
Should you trace your own drawing or download hand drawn vectors
When one sketch is enough
A single spot illustration for an about page, a signature, the drawing your kid made for the family site. Trace it. Twenty minutes gets you your own line in a file you own completely.
When you need fifty drawings in one style
An onboarding flow and a set of empty states can easily need thirty to fifty drawings that match each other. Drawing, photographing and tracing every one is a week of evenings, and keeping the line weight consistent across all of them is the hard part. That's where a pack earns its place, because its drawings were made to match and every one already comes as an SVG.
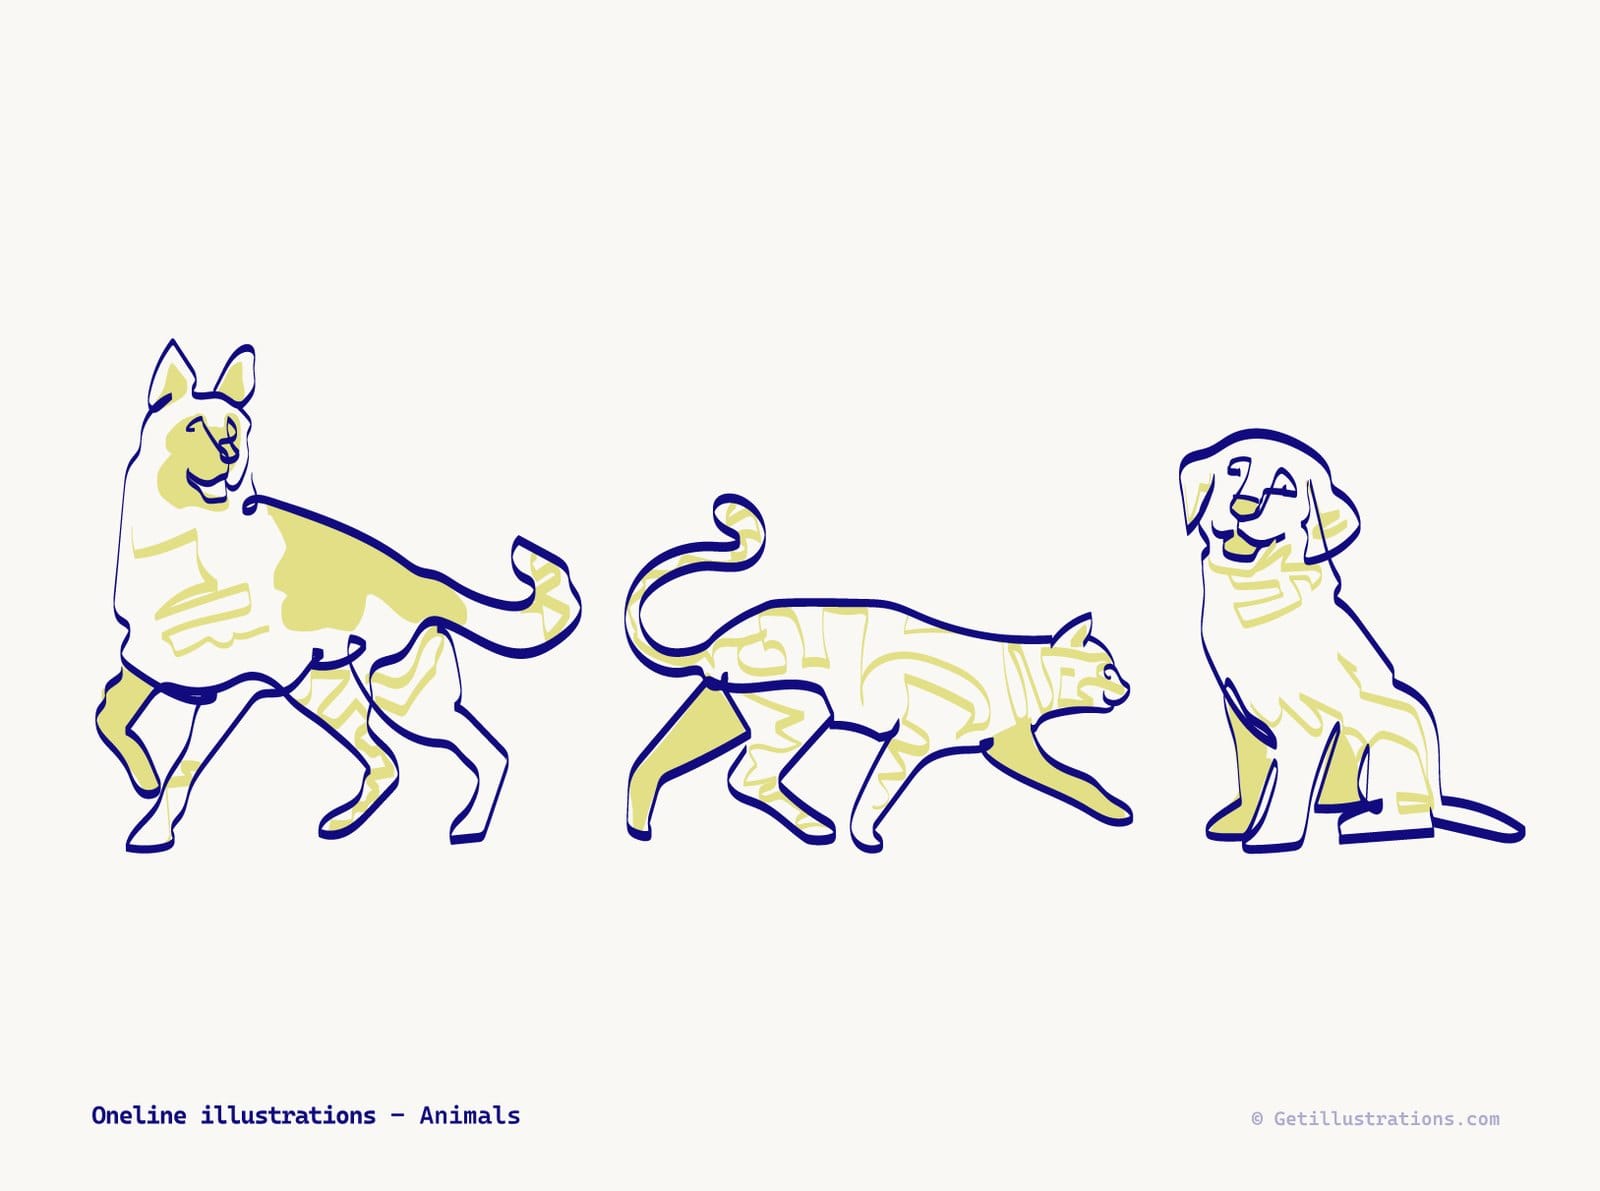
Every pack begins with a human illustrator
The closest match to what this guide makes is the hand drawn set, and like every pack in the library, it begins with a human illustrator. The hand drawn style page lists over 8,000 of these illustrations, with two of the packs free.
Across the 460 plus illustration packs you get SVG, PNG and AI source files for Illustrator, so the colouring and recolouring tricks above work on them too. Start with the free illustrations if you want to test the workflow before you buy anything.
Questions about turning a drawing into a vector
Can I vectorize a pencil drawing or does it have to be ink?
Pencil works if it's dark. A soft pencil pressed firmly photographs close to black and traces fine once the paper is pushed to white. A light, hard pencil gives up at the contrast step, so either go over the lines with a fineliner or accept a thicker trace.
Do I need a scanner to turn a drawing into a vector?
No. Window light, the phone's scan mode and a contrast push get you a clean two tone image. A flatbed only pulls ahead on very fine hatching, where its even light and higher resolution give the tracer more to hold onto.
Will the vector keep my line weight and taper?
An even line becomes a stroke with its width recorded, so the weight survives and you can change it later. A tapered line becomes a filled band, so the taper survives but you can't retype its weight. Both are the shape you drew, just stored differently.
How do I colour a traced drawing without colouring the lines?
Set Layering to Cutout before you export, so the ink is its own named layer. In Figma or Inkscape, lock that layer and paint on a new one beneath it. The lines stay black while the fills take whatever colour you like.
Is my drawing uploaded when I use the browser tool?
The tracing itself runs in your browser, on your machine. Every file you drop is still copied to our server, so treat the tool like any site you upload a picture to. If a drawing is private, keep it off the web, in Vectorizer Lab or anywhere else.
What file should I send to a printer or a developer?
A developer wants the SVG, with a transparent PNG at twice the display size as a fallback for places that can't take vectors. Many print shops would rather have a PDF, which Figma, Illustrator and Inkscape all export from the SVG, or a large PNG if they want a flat image. Keep the layered SVG from the Cutout export as your master, and make everything else from it.
Your drawing already has the line. The job is to photograph it like a scanner would and stop the tracer from tidying it up, and if you'd rather skip the tracing and start from finished hand drawn vectors, the packs are below.