
How to Make Robot Pixel Art: Grid, Palette, Shading and Export, With 25 Robots to Start From
Robot pixel art step by step: a 32 by 32 grid, four colours, one light source and a sharp export at 1x, 4x and 8x, plus 17 robots to start from.

You need a small robot for the empty inbox screen, and the sprint ends Thursday. Search for robot pixel art and you mostly get finished sprites to download or a freehand drawing lesson for kids, and neither one shows you how to draw a single robot that sits well beside a button in Figma.
This guide does that. We'll draw one robot on a 32 by 32 grid, pick four colours, shade it from one light source, export it at 1x, 4x and 8x without a trace of blur, and then turn the same body into a support bot, a wifi bot and a delivery bot. If you'd rather start from finished work, our Robot Pixel Art pack has 25 illustrations, 17 of them robot characters, drawn by a human illustrator and delivered as SVG and AI files.
Why robots are the easiest subject for pixel art
Boxes, symmetry and few curves fit a grid
Pixel art punishes curves. A circle 32 pixels wide is a staircase, and a face with a chin and a nose is three staircases arguing with each other. A robot is a head box on a body box with a neck between them, and the grid loves it.
Symmetry helps too. Draw the left half, mirror it, and half the work is done before you've shaded anything. The one asymmetric thing I'd add is a prop in one claw, because a perfectly mirrored robot reads as a logo rather than a character.
What a product designer needs the robot for
Most of the pixel robots we see in the wild aren't in games. They sit on 404 pages, empty states, onboarding screens and the little avatar circle next to a chat assistant.
Those spots need a pixel art robot character that reads at 32 pixels and still looks deliberate at 256. It also has to take a new prop without a redraw, which is why the method below starts with the silhouette and the light before any detail.
How to set up a 32 by 32 pixel art canvas
Pick an editor and zoom to 800 percent
Aseprite is the editor a lot of pixel artists swear by, and it's a paid app. Piskel is a free browser editor, and for one robot it's plenty. Whatever you pick, create a new file at 32 by 32 pixels, switch the pixel grid on, and zoom to 800 percent so each cell is a comfortable 8 screen pixels wide.
One warning before you reach for our own Pixel Lab: it converts a picture into pixel art, it isn't a drawing editor. There's no pencil, eraser or fill for pixels, and the only brush in it paints masks in the AI semantic zones module. It earns its place later, at the export step.
Decide the light source before the first pixel
Pick top left and never change it. Highlights go on the top and left faces, shadows on the bottom and right, and every robot you draw afterwards follows the same rule. Change your mind halfway and the set ends up looking like three different artists made it.
Block the silhouette in one dark colour
Fill the shape with your darkest colour first, no details at all. Zoom out to 100 percent and ask one question: is that a robot? If the blob doesn't read at actual size, no amount of shading will rescue it, so fix the proportions now while it costs nothing.
A starting shape that works: a head 15 wide by 10 tall, a neck 3 wide by 1 tall, a body 17 wide by 12 tall, and 2 rows for the feet. Odd widths matter, because an odd head has a true centre column for the antenna. That still leaves a few pixels of air on each side for the arms and a few rows above for the antenna.
How to draw a robot in pixel art step by step
Head and body as two rectangles with a one pixel neck
- Draw the head rectangle near the top, leaving 4 empty rows above it.
- Knock one pixel off each corner so the head reads as a rounded box instead of a brick.
- Add the neck, 3 wide and 1 tall, centred under the head.
- Draw the body rectangle 1 pixel wider than the head on each side, so 17 by 12, with its corners knocked off too.
- Fill everything with the base colour and set the darkest colour as the outline.
Eyes, mouth grille and antenna in odd pixel widths so they centre
On a 15 wide head, put the eyes as 2 by 2 squares at columns 4 to 5 and 11 to 12, which leaves a 5 pixel gap between them and 3 pixels of cheek on each side. Two by two eyes are the smallest size that still reads as a square rather than a dot. One pixel of the light colour in the top left corner of each eye gives you a glint for free.
The mouth is a grille: three vertical lines, 1 wide and 2 tall, at columns 6, 8 and 10. The antenna sits on column 8, a 3 pixel stalk with a single pixel bulb on top in your accent colour. Keep every width odd and nothing needs fudging.
Arms, claws and treads or feet
Arms hang from the shoulders as 2 wide columns, 6 or 7 pixels long, with a 1 pixel gap of background between arm and body so they don't merge into one lump. End each arm in a claw, which at this size is a 3 wide U shape with the opening facing down. Feet are two 4 wide blocks under the body with a 3 pixel gap, or one 17 wide tread row if you want a wheeled bot.
Keep the arms the same length and the feet the same width. Save the asymmetry for a prop, never the body, or the character looks broken rather than drawn.
Clean the jaggies: no doubles on diagonals
A diagonal line reads clean when every step is the same length, so 1, 1, 1 or 2, 2, 2 looks right and 1, 2, 1 looks like a mistake. A double is a corner where two pixels sit in an L on a line that should be one pixel thick, and you'll find them on every rounded corner you knocked off. Zoom out and the fat corners show up straight away, so delete the extra pixel in each.
How to choose a pixel art palette for a robot
Four colours is enough: shadow, base, light and one accent
A robot at this size doesn't need a dozen colours, and the 8 bit robots of old console games got by on a handful. It needs a ramp of three for the metal and one accent for the eyes, the antenna bulb and a chest light. The table below is a grey ramp we'd pick for a neutral robot, and every tone in it has a job.
| Role | Where it goes on the robot | Example tone for a grey robot |
|---|---|---|
| Shadow | Outline in shadow, bottom and right faces, the mouth grille | #3b4a63, a dark grey that leans blue |
| Base | Every flat panel of the head and body | #7d8aa0, a middle grey with a touch of blue |
| Light | Top and left faces, one glint in each eye, two highlight pixels | #d9d6c8, a pale grey that leans warm |
| Accent | Eyes, antenna bulb, one chest light, the prop in a variant | #f2a93b, an orange that reads at one pixel |
Hue shift the ramp instead of just darkening
If you make the shadow colour by sliding the base towards black, the robot turns to mud. Raymond Schlitter's palette guide on Slynyrd puts it well: a good ramp shifts hue as it moves, and you should start with a small ramp rather than a big one. For a grey robot that means the shadow leans blue and the light leans warm, which is why the ramp in the table isn't three greys at all.
Borrow a palette from Lospec when you are stuck
Lospec's palette list holds over 4,500 ready palettes, and it's where a lot of pixel artists go when their own ramp refuses to behave. Resurrect 64 gives you 64 colours with the hue shifting already done, and the CC 29 palette does the same job with 29. Pick four from one of those and your robot inherits a working ramp.
How to shade pixel art with one light source
Light face, shadow face, and the pillow shading mistake
With the light at top left, the top row and the left column of each box get the light colour, and the bottom row and right column get the shadow. The face in between stays base. That's it for a robot, because flat metal panels don't need gradients.
Pillow shading is the mistake everyone makes once: shading inward from every edge so the robot looks like a puffy cushion lit from the front. It happens when there's no light source decided, which is why that decision came before the first pixel.
Selective outlining: darker outline in shadow, lighter in light
A solid black outline all the way round makes a sticker. Selective outlining, which Lospec explains in its outlines guide, means using different outline colours in different places: the shadow colour along the bottom and right, a lighter tone along the top and left. The robot stops floating on the page and starts sitting in the light.
One highlight pixel on the head, nothing more
Put a single pixel of your lightest colour just inside the top left corner of the head, where it sits on the base rather than the light edge, add one more in the same spot on the body, and stop. Highlights are seasoning. A robot with twelve glints looks wet, and a robot with two looks made of metal.
How to export pixel art without blur
Export at 1x, 4x and 8x with nearest neighbour, never fractional scales
Your 32 by 32 original is the master, and every export is an integer multiple of it, resampled with nearest neighbour so each pixel becomes a clean square of pixels. Most editors keep it in the export or resize dialog, as a scale with the interpolation set to nearest or none. Never pick 1.5x or 3.7x, because a fractional scale makes some pixels wider than their neighbours, and the robot wobbles.
| Export scale | Size from a 32 by 32 master | Use it for |
|---|---|---|
| 1x | 32 by 32 pixels | The master file, a favicon, a game sprite |
| 2x | 64 by 64 pixels | An avatar circle beside a chat assistant |
| 4x | 128 by 128 pixels | Empty states, cards, onboarding steps |
| 8x | 256 by 256 pixels | A 404 page hero, a splash screen |
| 16x | 512 by 512 pixels | Social previews, print, anywhere it must stay sharp on a big screen |
On the web use image rendering set to pixelated
Browsers smooth images by default, so a 32 pixel PNG shown at 128 pixels turns into a blur. The fix is one CSS declaration: set image rendering to pixelated on the image. As the MDN reference describes it, the browser then scales the picture with nearest neighbour to the nearest integer multiple of its size, which keeps every edge crisp.
Export the 1x and let the page show it at a whole multiple like 128 or 256, or export the exact size you place and skip the worry.
Get an SVG master from a PNG with Pixel Lab, and what it does not do
Sometimes you need a vector, because the robot is going into a design system that wants SVG everywhere. Drop your 1x PNG into Pixel Lab and change these settings, which the Search controls box at the top of the panel finds by name.
- Grid width and Grid height to 32, so each pixel lands in one cell.
- Sampling to Nearest neighbor, so no cell gets an averaged colour.
- Colors to 4, so the palette it pulls from your PNG matches your ramp.
If a single highlight pixel still goes missing in the preview, find Remove tiny islands under Cleanup and set it to 0.
Once it converts, the downloads are a Master SVG with one square per cell, an Optimized SVG that merges neighbouring squares of the same colour, and a Preview PNG at any PNG preview scale from 1x up to 16x. It's free, with no account and no watermark, and the files you drop in are copied to our server. It converts rather than draws, and if you're starting from a photo rather than a pixel grid, the photo to pixel art guide covers that route.
How to turn one robot into a set of variants
Swap one feature at a time: headset for support, signal arcs for wifi, parcel for delivery
Copy the finished robot and change exactly one thing. A 2 pixel band over the head with a 1 pixel mic in the accent colour makes a support bot, and a 6 by 5 box in the claws with a 1 pixel strap makes a delivery bot. For a wifi bot, swap the antenna for three stacked arcs, 3, 5 and 7 pixels wide, and slide the whole robot down a few rows so they fit.
Resist the urge to change two things. The moment the second variant has a new head shape as well as a new prop, the reader's eye stops seeing a family and starts seeing strangers. Our Robot Pixel Art pack has its own support call bot, wifi bot and delivery bot if you want to see how an illustrator handled the same idea.
Keep the body, palette and light the same so the set reads as one family
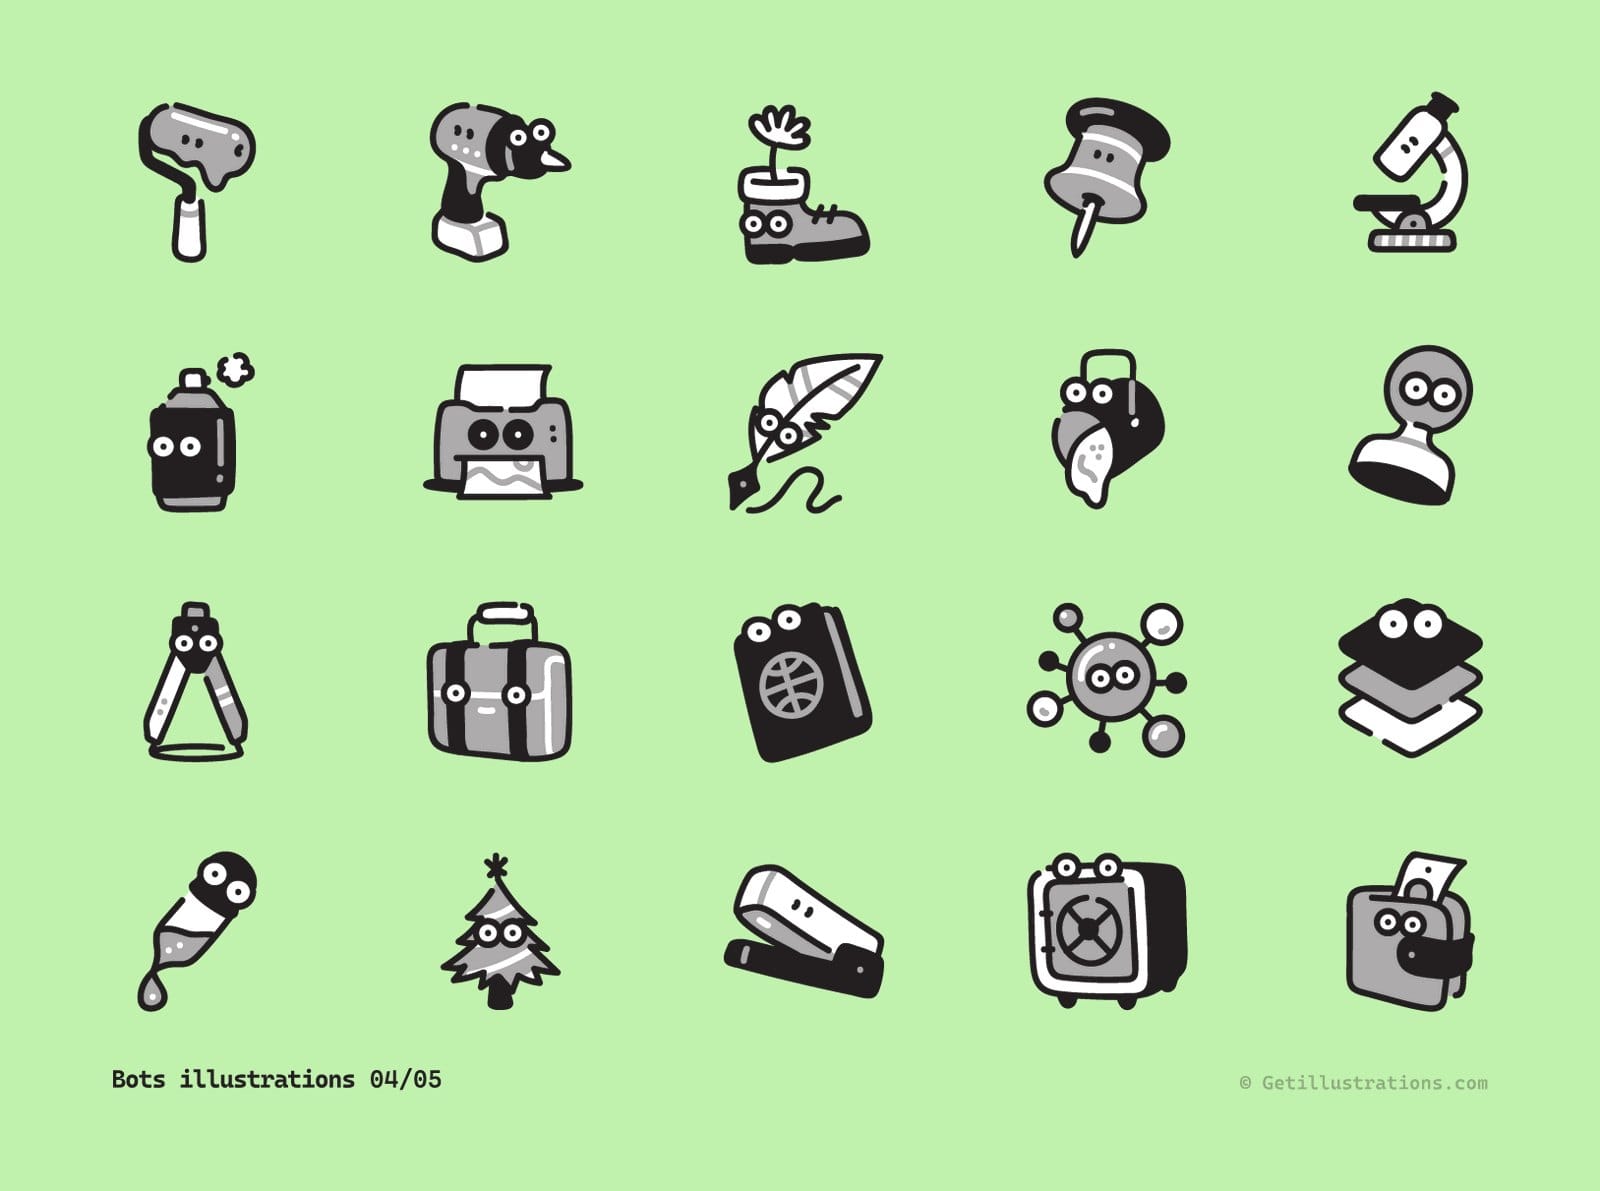
Here's the same rule in a flat vector set, our Bots avatars rather than pixel art, because the lesson doesn't care about the medium. One line weight, one grey, one black, two dot eyes on every object, and a globe, a dart and a shopping cart all become relatives.

Twenty of them on one sheet make the point louder. No two share a shape and even the eyes switch from dots to big round ones, yet the stapler still looks related to the safe, because the thick black stroke and the black, grey and white fill hold across the whole sheet.
A robot dog from the same four colours
Turn the body on its side, 17 wide and 8 tall, add a 7 by 6 head at the front, four 2 wide legs and a 1 pixel tail, and you have a dog from the same ramp with the same top left light. It's a nice test of whether your palette is doing the work, because a different silhouette in the same four colours should still feel like it came from the same factory. The pack has one of those too, with a thought bubble and a fish bone.
Robot pixel art for 404 pages, empty states and onboarding
Size and spacing on a real screen
Pixel art for a website lives at whole multiples, and at 4x a 32 pixel robot is 128 pixels wide, the right size above the heading of an empty state on desktop and about the largest you'd want inside a card. On a 404 page go to 8x, 256 pixels, and leave at least 32 screen pixels, four of the robot's own pixels, between its feet and the headline. At 1x or 2x it belongs in an avatar circle or a favicon, not in a hero.
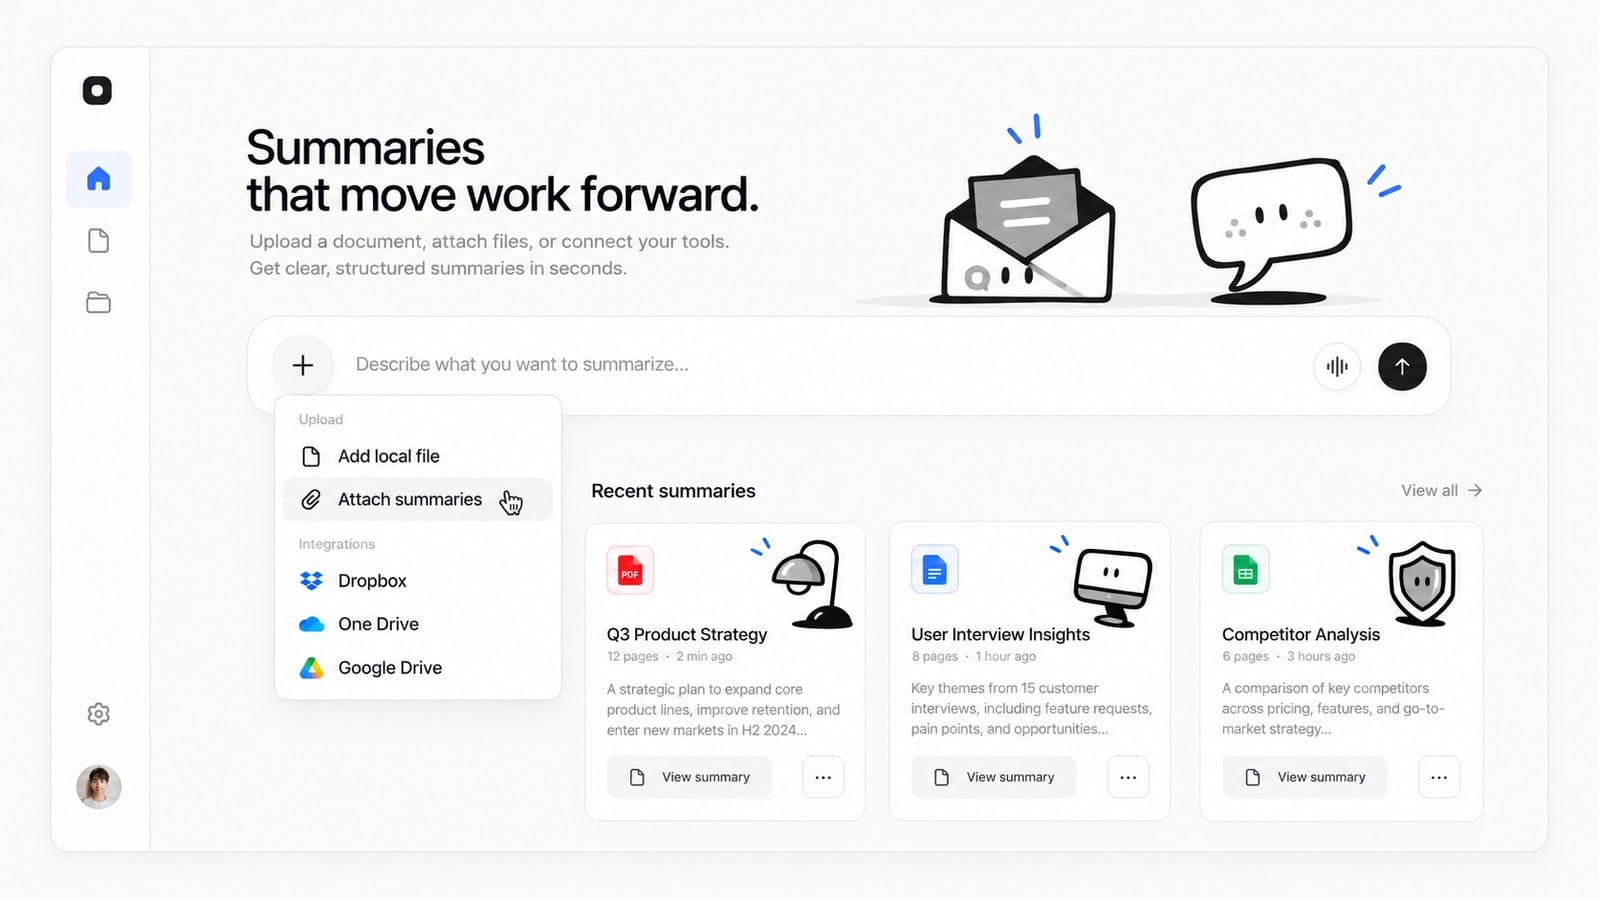
The mockup below is a showcase from one of our pack pages, built from our flat Bots mascots rather than pixel art, and the spacing lesson carries over: the mascots sit at card size next to headings and buttons and never crowd the copy.
If the robot is going on an error page, the 404 page illustration guide covers the copy and the button that go with it.
One robot, three moods: working, broken, waiting
Mood at 32 pixels is the eyes and nothing else. Working is the 2 by 2 eyes as drawn. Broken is one eye replaced by a 3 by 3 X in the shadow colour and a single spark pixel in the accent above the antenna, and waiting is both eyes shrunk to a 2 wide and 1 tall line, which reads as half closed.
That gives you a 404 robot, a loading robot and an empty state robot from one drawing in about ten minutes. Keep the body identical between the three and the user learns the character once.
Why does my pixel art robot look blurry or muddy
It's blurry on the page
Either the export used a fractional scale, or the browser is smoothing it. Export again at an integer multiple with nearest neighbour, and set image rendering to pixelated on the img element. If it's blurry in Figma, place the 4x or 8x export at its own size instead of stretching the 1x.
It looks flat or puffy
Flat means the light and shadow faces are too close in value, so push the shadow darker and bluer. Puffy means pillow shading, so go back to the one light rule and shade only the top left faces light and the bottom right faces dark.
It doesn't read small
The silhouette failed, not the shading. Zoom out to 100 percent, fill the robot with one colour and look again. Usually the neck is too thin to see or the arms have merged with the body, and one pixel of background between them fixes it.
The colours look dirty
The shadow was made by darkening instead of hue shifting. Nudge the shadow hue towards blue or purple and the light towards yellow, and the metal comes back.
When a ready made robot pixel art pack is the better call
What is in the Robot Pixel Art pack
Drawing one robot is an afternoon, and drawing twenty that match is a week. The Robot Pixel Art pack is 25 illustrations: 17 robot characters, 3 scenes showing office work, meal prep and a window view, a robot dog, plus icons and hand gestures in the same style. The support call bot, the wifi bot and the delivery bot from the variants section are already in there.
Like everything in our library, it begins with a human illustrator. Four of our packs carry a Remixed by AI label and this isn't one of them. If you want more of the look around it, the pixel art collection gathers our pixel packs, and the shopping pixel art pack pairs well with it for an online shop.
SVG and AI files, and what the licence lets you do
The pack ships as SVG files plus the AI source file for Illustrator, and the pack page offers PNG and SVG downloads. Under our licence, a paid pack needs no credit and covers client projects, apps and products. Attribution is only required under the Free Licence, which applies to our free packs.
If you run a pack illustration through Pixel Lab, the pixel art version follows the licence of the pack it came from. The pack is still images in vector form, though, so there are no sprite sheets or animations in it.
Recolouring the pack to your brand
Because the files are SVG, every colour is a fill you can change. Open one in the SVG color editor, swap the accent to your brand colour, and leave the shading tones as they are so the light still reads. The guide to changing SVG colours walks through it, and if you're building vector pixel art from scratch in Illustrator, the Illustrator pixel art tutorial covers the grid setup and the SVG gap fix.
Robot pixel art questions people ask
What size should a pixel art robot be?
Draw at 32 by 32 for a UI mascot. It's big enough for 2 by 2 eyes, a mouth grille and a prop, and small enough that every pixel is a decision. Go to 64 by 64 only if the robot needs a face with real expressions.
How many colours should a pixel art robot use?
Four: a shadow, a base and a light for the metal, and one accent for the eyes and lights. Add a fifth only for a prop that must stand out, like a red parcel.
How do I make pixel art bigger without it going blurry?
Scale by whole numbers only, 2x, 4x, 8x, with nearest neighbour resampling, and on the web set image rendering to pixelated so the browser does the same. If you need a vector, convert the 1x PNG to SVG in Pixel Lab and scale that without limit.
Do I need Aseprite to make robot pixel art?
No. Any editor with a pixel grid and a nearest neighbour export works, and Piskel runs in a browser. Aseprite is faster once you draw pixel art every week, mostly for its palette tools and the animation timeline you'd want for a walking robot sprite.
Can I use robot pixel art from GetIllustrations in a commercial app or game?
Yes. A paid pack licence covers client projects, apps and products with no credit required. Free packs need a visible credit under the Free Licence, so check which one you're holding.
Is pixel art still vector if I export it as SVG?
Yes, with a catch. An SVG of pixel art is a grid of square paths, so it scales cleanly to any size, but it's a vector of squares rather than smooth curves, and when every square is its own shape, some apps draw hairline gaps between neighbours. The Illustrator tutorial linked above shows the fix.
Draw the first robot tonight and give it a headset tomorrow, and by Friday you'll have a family. If Thursday's sprint can't wait that long, start from the 17 robot characters already in the pack.