Enlarge any photo or illustration
up to 8×. Free.
Drop a JPG, PNG or WebP. Upscaler Lab reads what is wrong with it first: noise, colour noise, compression, blur, a colour cast, too little light. Then it picks the model, enlarges the picture 2× to 8×, rebuilds faces where that is honest, and lets you finish the result in place: sharpen, grain, warmth, paint out an object, drop the background. It runs in your browser, on your own graphics card, and costs nothing.
Open Upscaler Lab, it's free →
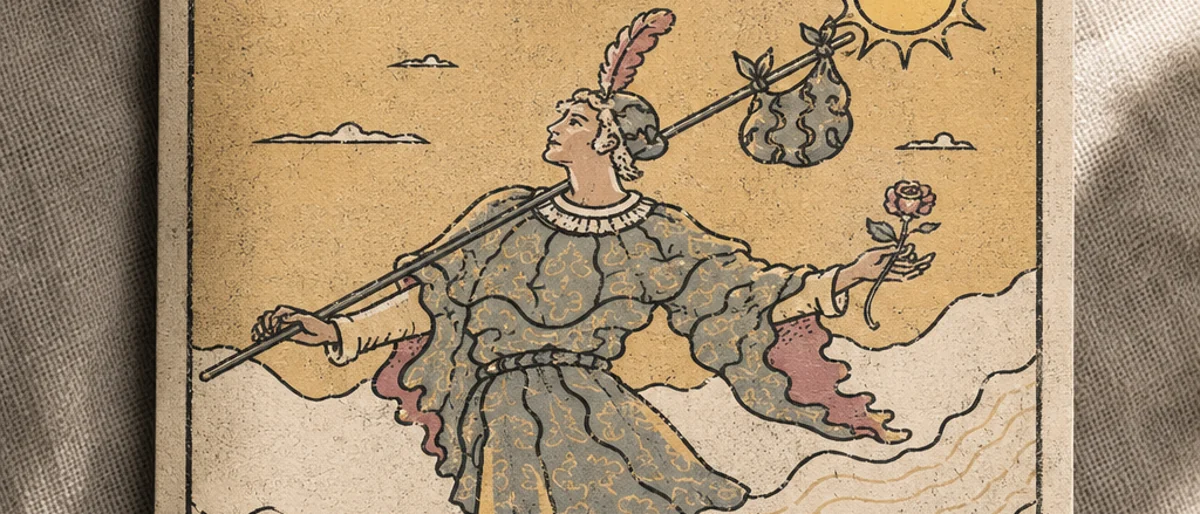
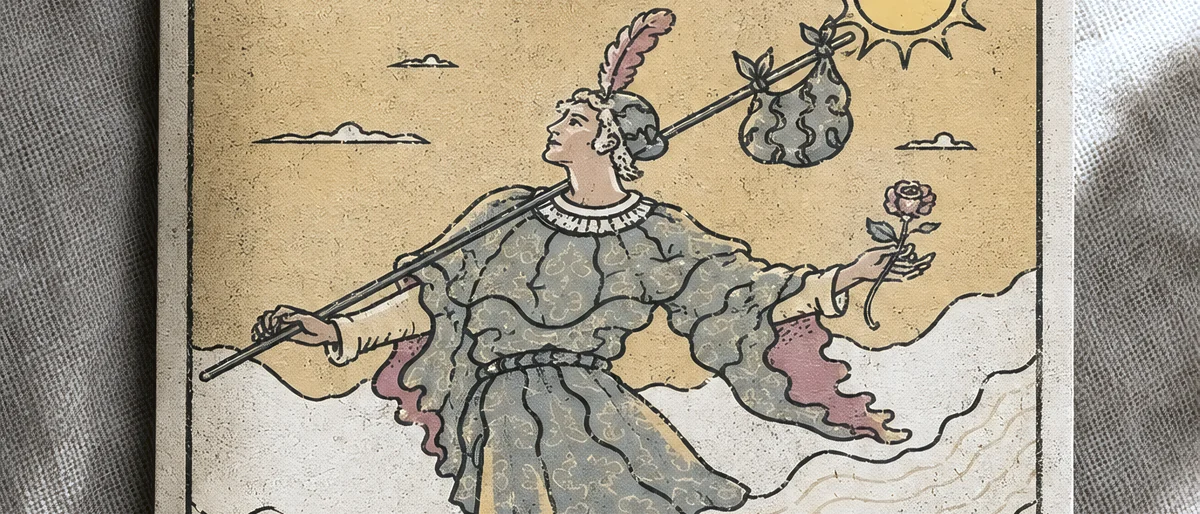
- 2× to 8× or type the width you need
- Diagnosed first noise, blur, cast and compression read from the file
- Faces rebuilt only where the rebuild agrees with the original
- No install WebGPU in your browser, a few seconds a photo
Six jobs, done in the tool
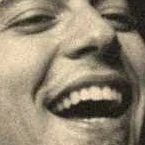
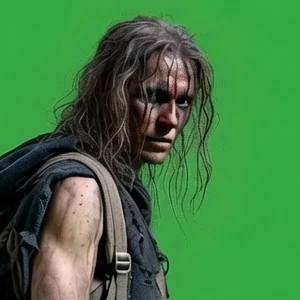
Six things people bring an upscaler, each a real run with the settings the tool chose and nothing retouched. Four of the inputs were first shrunk and compressed the way a picture comes back from a messaging app, or aged like a scanned print, so there is something to recover; the caption says what each input was. Move your mouse over a pair: both pictures zoom in on the same spot, the input's soft enlargement on the left and Upscaler Lab's result on the right. The right-hand chip is what was set: Auto alone for four of them, Auto plus Rebuild faces for the two portraits.
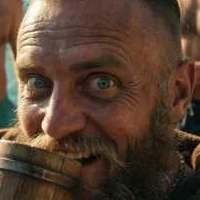 Input
Input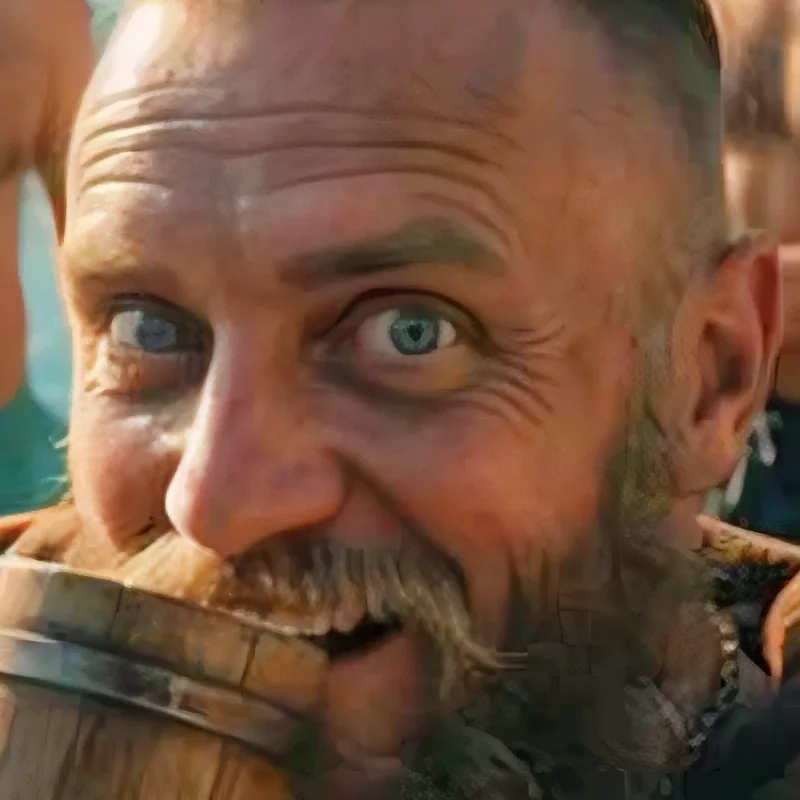 Upscaler Lab
 Input
Input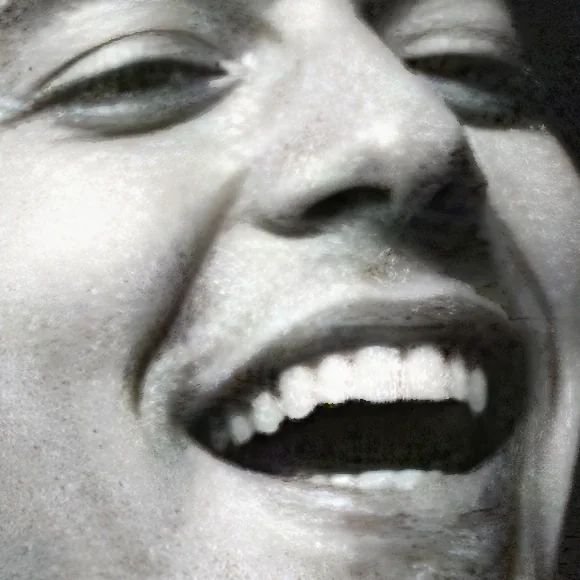 Upscaler Lab
 Input
Input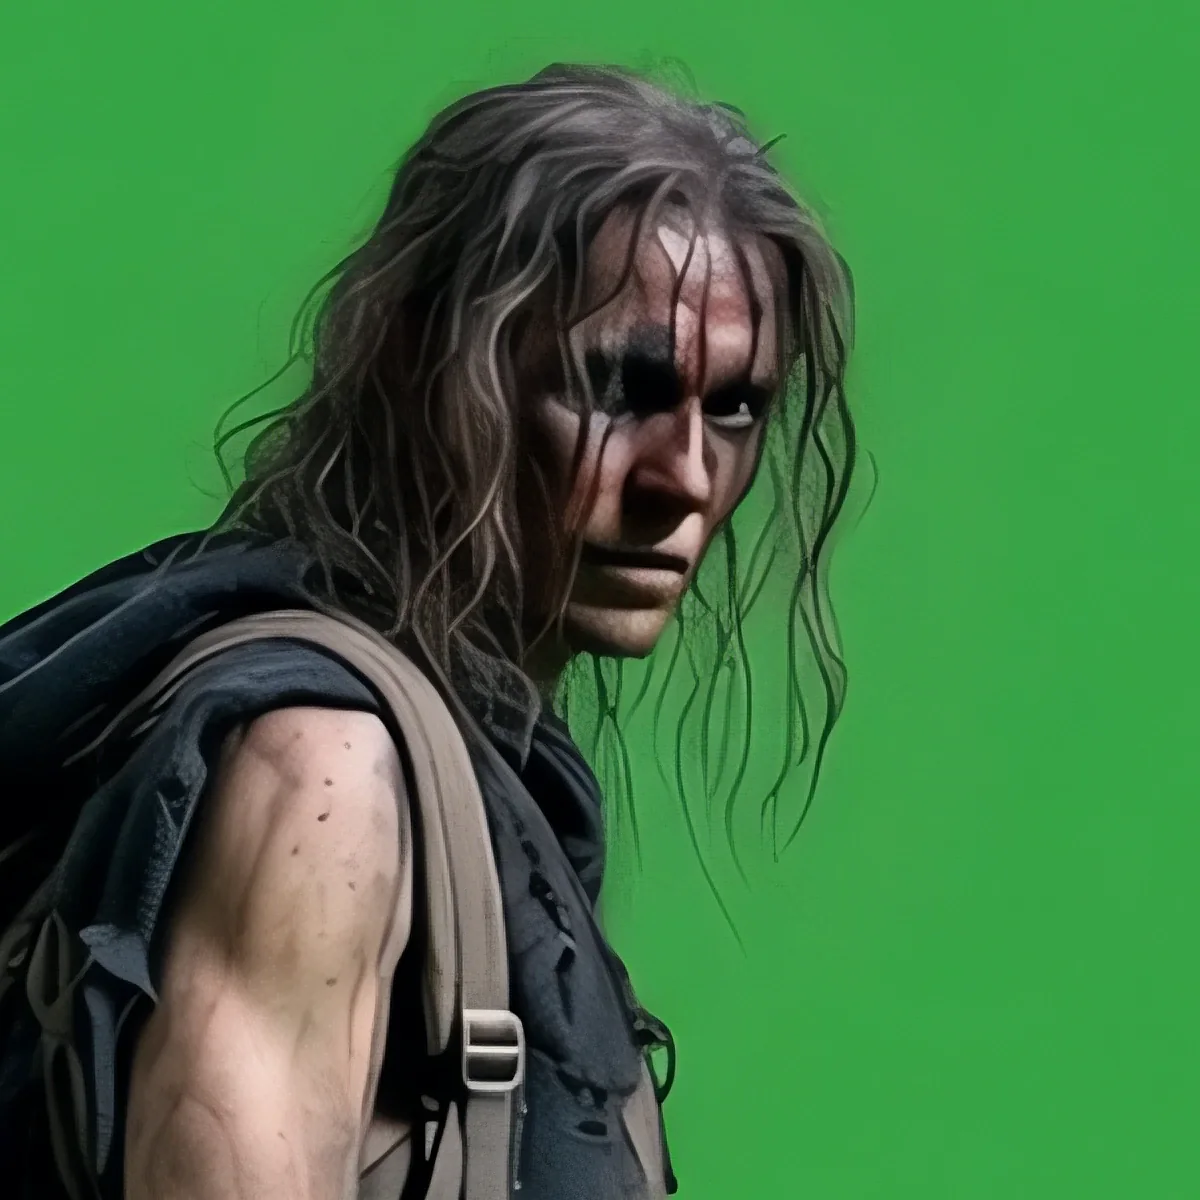 Upscaler Lab
 Input
Input Upscaler Lab
 Input
Input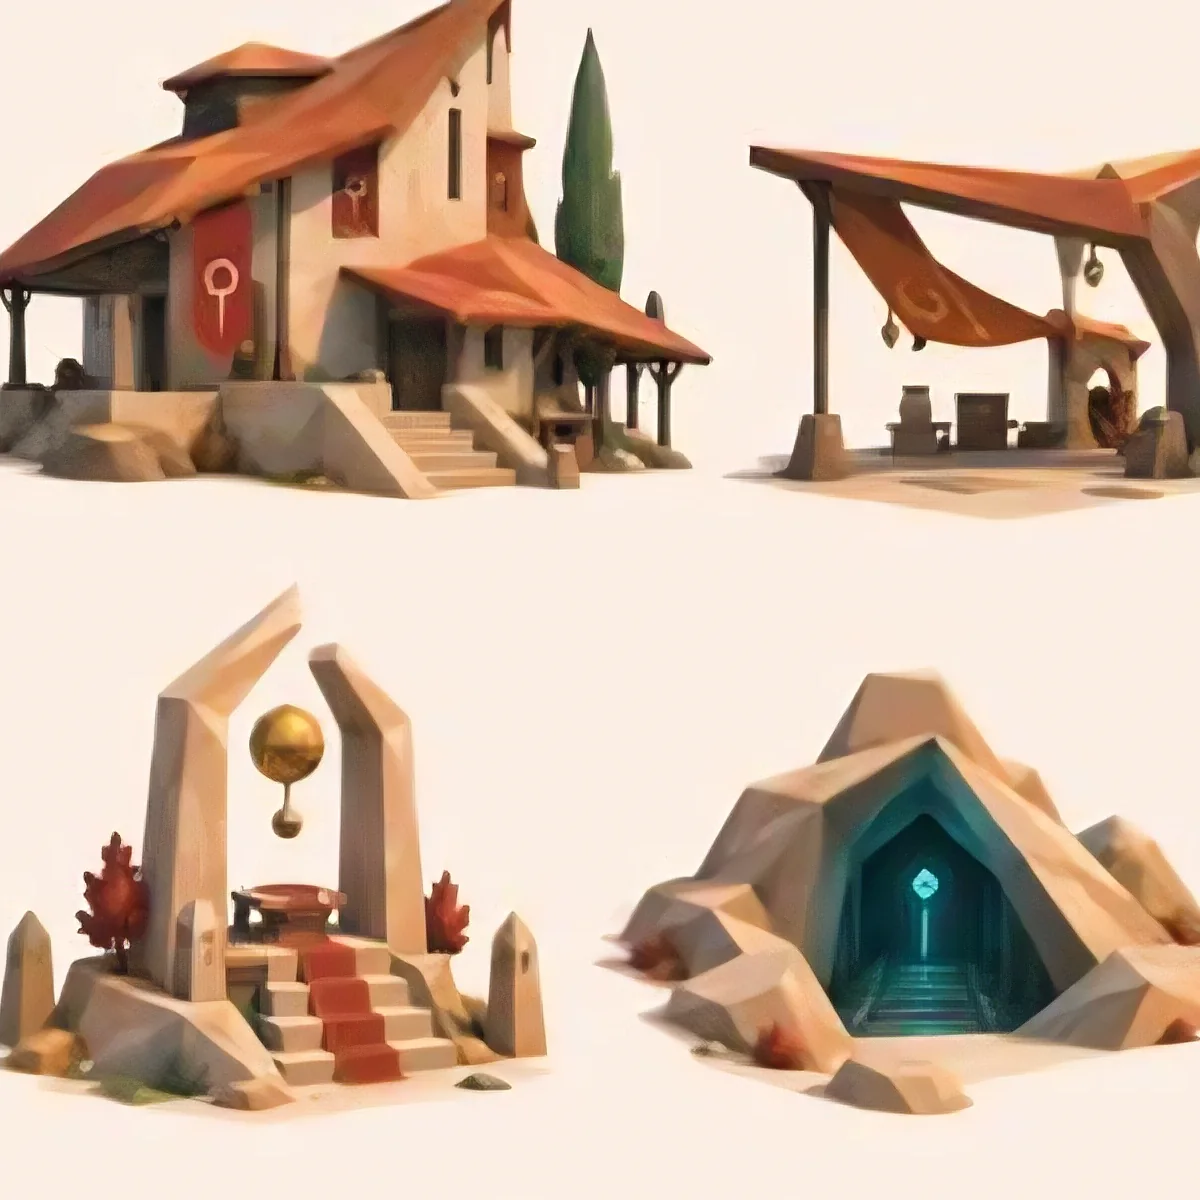 Upscaler Lab
 Input
Input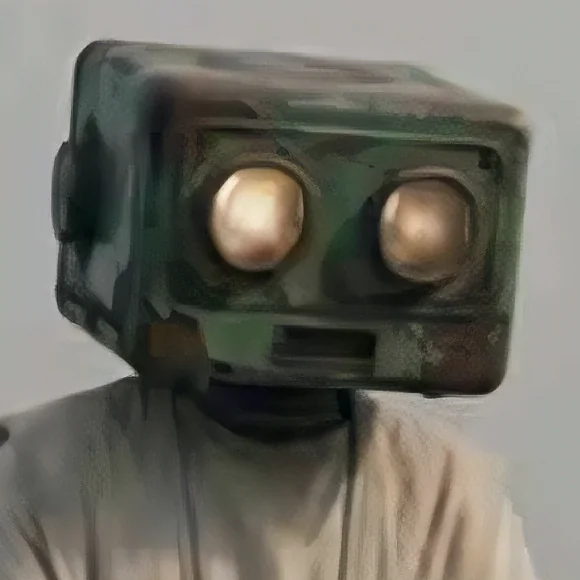 Upscaler Lab
What Upscaler Lab does, for free
Most upscalers run one model on everything and hope. Upscaler Lab measures the file first and says what it found in plain words, picks the model that fits, and tells you which parts of the result are real and which were rebuilt. Every setting it chose is a control you can change.
-
It reads the file before it touches it
Noise and colour noise, how hard the file was compressed, whether it is blurred, whether the light has a cast, how dark the shadows are, how much real detail is there. That diagnosis becomes the recipe: which model, whether to smooth colour noise or lift the shadows first, how much texture to keep. It is written out under "What we found", and every line of it is a control.
- 2×, 4×, 8×, or a width
Pick the factor, or type the width you need and the tool lands exactly on it. 8× is two passes.
- Quick, Balanced, Best
Quick uses the fastest model and light texture; Best runs the repair model with every texture pass, about three times slower.
- Repair first
A video frame or a file re-saved too many times gets a compression pass; a shaken or misfocused photo gets a deblurring model. Both before enlarging, both off unless needed.
- Noise and colour noise
Grain is kept or removed by strength; the blotchy colour noise of a phone photo at night is smoothed on its own channel so the detail underneath stays.
-
Faces, rebuilt honestly
A face model redraws each face at the new size so eyes and skin come back sharp. Every rebuilt face is compared with the original: a face turned away, too small, or a rebuild that disagrees with it is skipped, and the result says "2 of 3 rebuilt" and why. A strength slider blends the rebuild back towards the plain enlargement; the finishing passes go easier on skin than on hair and fabric.
- Remove objects
Paint over a wire, a blemish or a person in the background; the area is painted out from what surrounds it, and the file records that it was invented.
- Remove or recolour the background
One click drops the backdrop for a transparent PNG or WebP, or replaces it with a colour you pick.
- Crop and straighten first
Crop to the part you need and straighten a tilted shot before enlarging; a crop is four times cheaper than the same crop after.
- Photographed prints
Find the print pulls a photographed card, photo or page flat, corners and all, so you enlarge the picture rather than the table it lay on.
-
Finish in place
Every control in the Finish panel re-touches the enlarged picture without a second model run: strength over a plain resize, sharpening, film grain, brightness, local contrast, colour cast, warmth and saturation. Skin-aware, so a sharpened portrait does not turn into pores. What you see is what downloads.
- Colourise
A black-and-white photo can be coloured in one pass, kept as a separate step you can compare with the original.
- Compare every result
A divider and a loupe against the original at 100 %, a history of every run, and any earlier result on the left of the divider.
- A queue for many files
Drop a folder: each file gets its own diagnosis or your settings, pause and resume, add while it runs, download one ZIP.
- Presets and a settings link
Save a recipe with its finishing and quality tier, name it, apply it to every file in a batch, or copy it as a link that opens the studio set the same way.
- Try all three on a crop
Quick, Balanced and Best run on one small crop and sit side by side at 100 % with their times, so you pick by eye before the whole picture runs.
- Enlarge the face
One button finds the largest face in a group photo, crops to it with room around, and runs at 4× with Rebuild faces.
- Scratches and dust
On an old print, Find scratches & dust marks the thin lines and specks for you; check the wash, then Remove paints them out.
- Keep as shot, and see what changed
Paint where the original must show through, a logo or a signature, and it does, in the file too. Press D for a heat map of what the model added and where.
- Print size
Type the print in centimetres and dpi; the tool sets the exact width and says plainly when the file has too few pixels for it.
- Animated GIFs, and Display P3
An animated GIF or WebP is enlarged frame by frame and saved as an animated PNG. A wide-gamut phone photo keeps its colours: read, processed and written in Display P3.
Six steps, and the first three are usually enough
Drop, read what it found, press Enhance: that is the whole job for most pictures. The other three are there when you want to look closer, fix something, or keep a recipe.
- 1Drop your pictureJPG, PNG, WebP, AVIF or HEIC, one file or a folder. It is on the stage at once; crop or straighten it if you like.
- 2Read the diagnosis"What we found" lists the noise, cast, blur and compression it measured and the recipe it set. Change any line, or pick Quick, Balanced or Best.
- 3EnhanceThe model runs in tiles on your graphics card, a progress bar says how long is left. Faces are rebuilt where that is honest and the result says how many.
- 4Judge it at 100 %Drag the divider over the original, use the loupe, switch to 100 % or 200 %, put an earlier result on the left to compare two recipes.
- 5FinishSharpen, add grain, warm it up, lift the shadows, paint out an object, drop or recolour the background. Everything re-touches in place.
- 6DownloadPNG, WebP or JPEG, with what was invented recorded in the file. A batch comes as one ZIP. Save the recipe as a preset, or copy it as a link, for next time.
Open Upscaler Lab → Free. No account, no install, no watermark.
What it exports
Everything renders in the page and downloads straight from it, at the full enlarged size.
| Format | What you get | Best for |
|---|---|---|
| PNG | Lossless, with transparency when the background was removed; the largest file | Print, further editing, anything with a cut-out background |
| WebP | A fraction of the PNG's size, transparency kept, quality set high | Websites, sharing, anything that goes online |
| JPEG | The smallest file for a photograph, no transparency | Photos for email and messaging |
| Batch ZIP | Every queued file enlarged with its own diagnosis or your settings, in one archive | A folder of photos or a whole pack at once |
| Provenance | The file's own description records the model, the factor, the strength, how many faces were rebuilt and whether anything was painted out | Knowing later which parts of a picture were invented |
| Presets | A named recipe: the settings, the finishing panel and the quality tier, kept in the browser | The same look across a series |
What people enlarge
A few starting points, with the settings that suit each.
Old family photos
Scans and phone snaps of prints: the repair model, Rebuild faces, a touch of grain so the result still looks like a photograph. Colourise a black-and-white one if you want.
A small web image for print
The only copy is 800 pixels wide and the printer wants 3,200. Type the width, let the diagnosis pick the model, judge it at 100 %.
Illustrations at poster size
Flat and line artwork, ours or yours, enlarges cleanly with the general model and no grain. For a true vector, Vectorizer Lab traces it instead.
Screenshots and video frames
A frame grab or a screenshot of a screenshot: Repair first undoes the block compression, then the enlargement has something to work with.
Product shots and cut-outs
Enlarge, drop the background, download a transparent PNG for the listing. A colour background instead, if the shop wants one.
Game art and renders
Sprites, low-poly renders and concept sheets keep their hard edges; for pixel art that should stay pixels, Pixel Lab is the tool.
Open models, WebGPU and a Rust core, in your browser
The models
A catalogue of open super-resolution models, each with a job: a SPAN network for clean files, Real-ESRGAN for the general case, a RealPLKSR restorer for damaged files, an anime model for flat art, NAFNet for blur, GFPGAN for faces, LaMa for painting out, U²-Net for the background, DeOldify for colour. The diagnosis picks; you can override.
WebGPU, with a fallback
The models run through onnxruntime-web on your graphics card, in tiles with overlap so a 6,000-pixel result fits in memory. Where a model comes out wrong on the GPU, it is pinned to the CPU build; where there is no WebGPU at all, everything runs on the CPU, slower but the same.
The Rust core
Diagnosis, tiling and merging, colour-noise smoothing, local contrast, the skin mask, the print finder and the perspective warp are Rust compiled to WebAssembly, so the parts that are not a model are fast and exact on every device.
Honest about invention
Every rebuilt face is checked against the original and skipped when it disagrees; the result reports what was rebuilt and what was left alone; anything painted out is recorded in the file. An evidence panel measures what the finishing added over the model's own result.
- WebGPU
- onnxruntime-web
- Rust → WebAssembly
- Real-ESRGAN
- SPAN
- RealPLKSR
- NAFNet
- GFPGAN
- LaMa
Model credits: 4xNomosUni SPAN, 1xDeH264 RealPLKSR and 4xNomosWebPhoto RealPLKSR by Philip Hofmann (CC BY 4.0); Real-ESRGAN by Xintao Wang (BSD-3); GFPGAN (Apache-2.0); NAFNet by megvii-model (MIT), OpenCV Zoo export; LaMa by Samsung AI (Apache-2.0); U²-Net (Apache-2.0); YuNet face detector (Apache-2.0); DeOldify (MIT). The full list, with sizes and licences, is in the studio under Downloaded models.
Questions about the free image upscaler
Is Upscaler Lab free to use?
Yes. Upscaler Lab is free, there is no account to create and no watermark on the result. The enlargement runs in your browser, on your own graphics card where there is one, so there is nothing to install.
How much bigger can it make an image?
Two, four or eight times, or you type the width you need and it picks the factor and resizes to land exactly on it. A 1,000-pixel photo becomes 4,000 pixels at 4x; an 8x run is two passes of the model.
What kind of pictures does it work best on?
Photographs, portraits, illustrations, renders, screenshots and video frames. The tool reads the file first: how much noise and colour noise it carries, whether it has been compressed hard, whether it is blurred or has a colour cast, how dark it is. That diagnosis chooses the model and the settings, and it is written out in plain words so you can change any of it.
Does it invent detail, and does it say so?
An upscaler adds texture the small file did not have; that is the job. Upscaler Lab is honest about the parts that are guessed. A rebuilt face is checked against the original and skipped when the face is turned away, too small or the rebuild does not agree with it, and the result says how many faces were rebuilt and why any were left alone. Anything painted out with the object brush is recorded in the file as invented.
What is the Rebuild faces option?
A face model redraws each face it finds at the enlarged size: eyes, skin and hair come back sharp instead of soft. It is only applied where the rebuilt face agrees with the original, and the strength slider blends it back towards the plain enlargement.
Can it fix a blurred photo or a video frame?
Yes, as a first pass before enlarging. The Video option undoes block compression from a frame grab or a file that has been re-saved many times; the Blur option runs a deblurring model for motion and focus blur. Both are off unless the file needs them, because on a clean file they only remove detail.
Can I remove the background or an object?
Yes. After the enlargement, Background can be removed (a transparent PNG or WebP) or replaced with a colour. Remove objects is a brush: paint over a wire, a blemish or a person in the background and the tool paints the area out from what surrounds it.
What can I adjust after the enlargement?
Everything in the Finish panel re-touches the enlarged picture in place, without a second model run: how much of the result shows over a plain resize, sharpening, film grain, brightness, local contrast, colour cast, warmth and saturation, with a skin-aware setting that keeps faces softer than fabric and hair.
Which browsers does it need?
A current Chrome or Edge on a computer with a graphics card gives the fast path (WebGPU): a 4x enlargement of a phone photo takes a few seconds. Safari and Firefox run the same models on the processor, which works but takes longer. The models download once and stay in the browser's cache.
Can I enlarge several images at once?
Yes. Drop several files and a queue appears: each file gets its own diagnosis, or your current settings if you prefer, and the results download as one ZIP. You can pause the queue and add files while it runs.
Can I use the enlarged images commercially?
Anything you make from your own pictures is yours to use however you like. Enlarged versions of GetIllustrations packs follow the licence of the pack they came from.
Can it remove scratches and dust from an old photo?
Yes. Under Remove objects, Find scratches and dust marks the thin lines and specks on a scanned or photographed print for you; you see them as a wash on the picture, add or erase with the brush, and Remove paints them out from what surrounds each mark. On a smiling face it can mark a tooth or a crease, which is what the check is for.
Does it work on animated GIFs?
Yes. An animated GIF or WebP is taken frame by frame, every frame is enlarged with the same settings, and the result downloads as an animated PNG with the original timings. Browsers cannot write GIF or animated WebP files themselves, and a GIF would squeeze the result back to 256 colours.
Will a phone photo keep its colours?
Yes. Modern phone photos are in Display P3, which holds reds and greens sRGB cannot. Upscaler Lab notices a wide-gamut file, reads and processes it in Display P3, and writes the PNG, WebP or JPEG with a P3 profile, so nothing is clipped on the way through. An sRGB file is handled exactly as before.