
How to Vectorize a Logo: Free in the Browser, in Illustrator and in Inkscape, With the Cleanup That Makes It Print Ready
Vectorize a logo three ways: free in your browser with the palette locked to brand colours, Illustrator Image Trace and Inkscape, then the print cleanup.

The print shop writes back one line: "Please send the logo as a vector." All you have is the PNG from the website header, maybe 400 pixels wide, with a soft grey fringe around every letter.
The banner is due Friday and the designer who made the logo stopped answering emails two years ago. The embroidery place wants the same file for the polos, too.
I've been on both sides of that email. This guide converts one logo to vector three ways: free in your browser with Vectorizer Lab, in Illustrator with Image Trace, and in Inkscape with Trace Bitmap. Then it covers the part most tutorials skip, the cleanup pass that decides whether the printer accepts the file or sends it straight back.
Why do printers ask for a vector logo
What a vector logo is and why a PNG falls apart on a banner
A PNG is a raster file, a grid of coloured squares. Blow a 400 pixel logo up to a 3 metre banner and each square becomes a visible block, the edges go soft, and the fringe that hid at small sizes turns into a halo you can see from the car park.
A vector logo stores shapes instead: a circle is a circle, a letter is an outline with a fill. It scales to a business card or a building wrap with no loss, because the printer's software redraws the maths at whatever size it needs. We wrote a longer explainer in what a vector image is if the idea is new to you, and a broader guide on how to convert PNG to SVG for files that aren't logos.
Screen printing needs one clean shape per ink colour
Screen printers separate each colour in your logo onto its own mesh screen, and they do that from the shapes in the file. A traced logo with 40 near identical shades of blue means 40 screens, or more likely a phone call. That's why the shops ask for AI, EPS, SVG or an editable PDF, and why a Canva PDF that wraps a low resolution raster gets rejected even though the file ends in .pdf.
Embroidery needs a vector first, then a digitised stitch file
Embroidery is a step further again. The embroiderer takes your vector and digitises it into a stitch file for the machine, so a clean vector is where their work starts. Custom Ink's design tips ask for text at least 0.25 inches tall and lines at least 0.05 inches thick, and they say gradients and halftones can't be embroidered at all, which matters for the cleanup later.
What you need before you vectorize a logo
Find the biggest, cleanest copy of the logo you have
Ten minutes of searching saves an hour of cleanup. Check the website header at 2x, the email signature, old presentation decks, the social profile picture, and any pitch PDF where the logo was placed large. A JPG with compression blocks around the letters is the worst starting point, so take a PNG over a JPG every time, even if the PNG is a little smaller.
Write down the brand hex codes
You'll need the exact colours twice: once to lock the trace to them and once to check the final file. Pull them from the brand guide if one exists, or from the website's CSS. Don't eyedrop them off a JPG, the compression shifts every colour a few steps and you'll bake that error into the vector.
Upscale a tiny screenshot before you trace it
A 120 pixel favicon or a cropped screenshot traces into lumps, because the tracer only has a handful of pixels per curve to work with. Run it through Upscaler Lab first, where it's enhanced entirely in your browser, and trace the larger version instead. It can't bring back lettering the small file never held, but it gives the tracer smooth edges to follow instead of a staircase.
Flat colours trace well, gradients and photos do not
All three tracers in this guide turn a gradient into bands of flat colour. Two or three flat colours and crisp edges trace almost perfectly. A logo with a photographic element, a drop shadow or a metallic sheen needs the redraw route at the end of this guide, and it's better to know that before you spend an afternoon fighting the sliders.
How to vectorize a logo for free in your browser
Vectorizer Lab is our free image to SVG tool, with no account to create and no watermark on the export. The tracing runs in your browser, but the files you drop in are copied to our server, where we keep them for up to 30 days to watch for abuse and usually delete them within days. Leave anything under a strict NDA out of it.
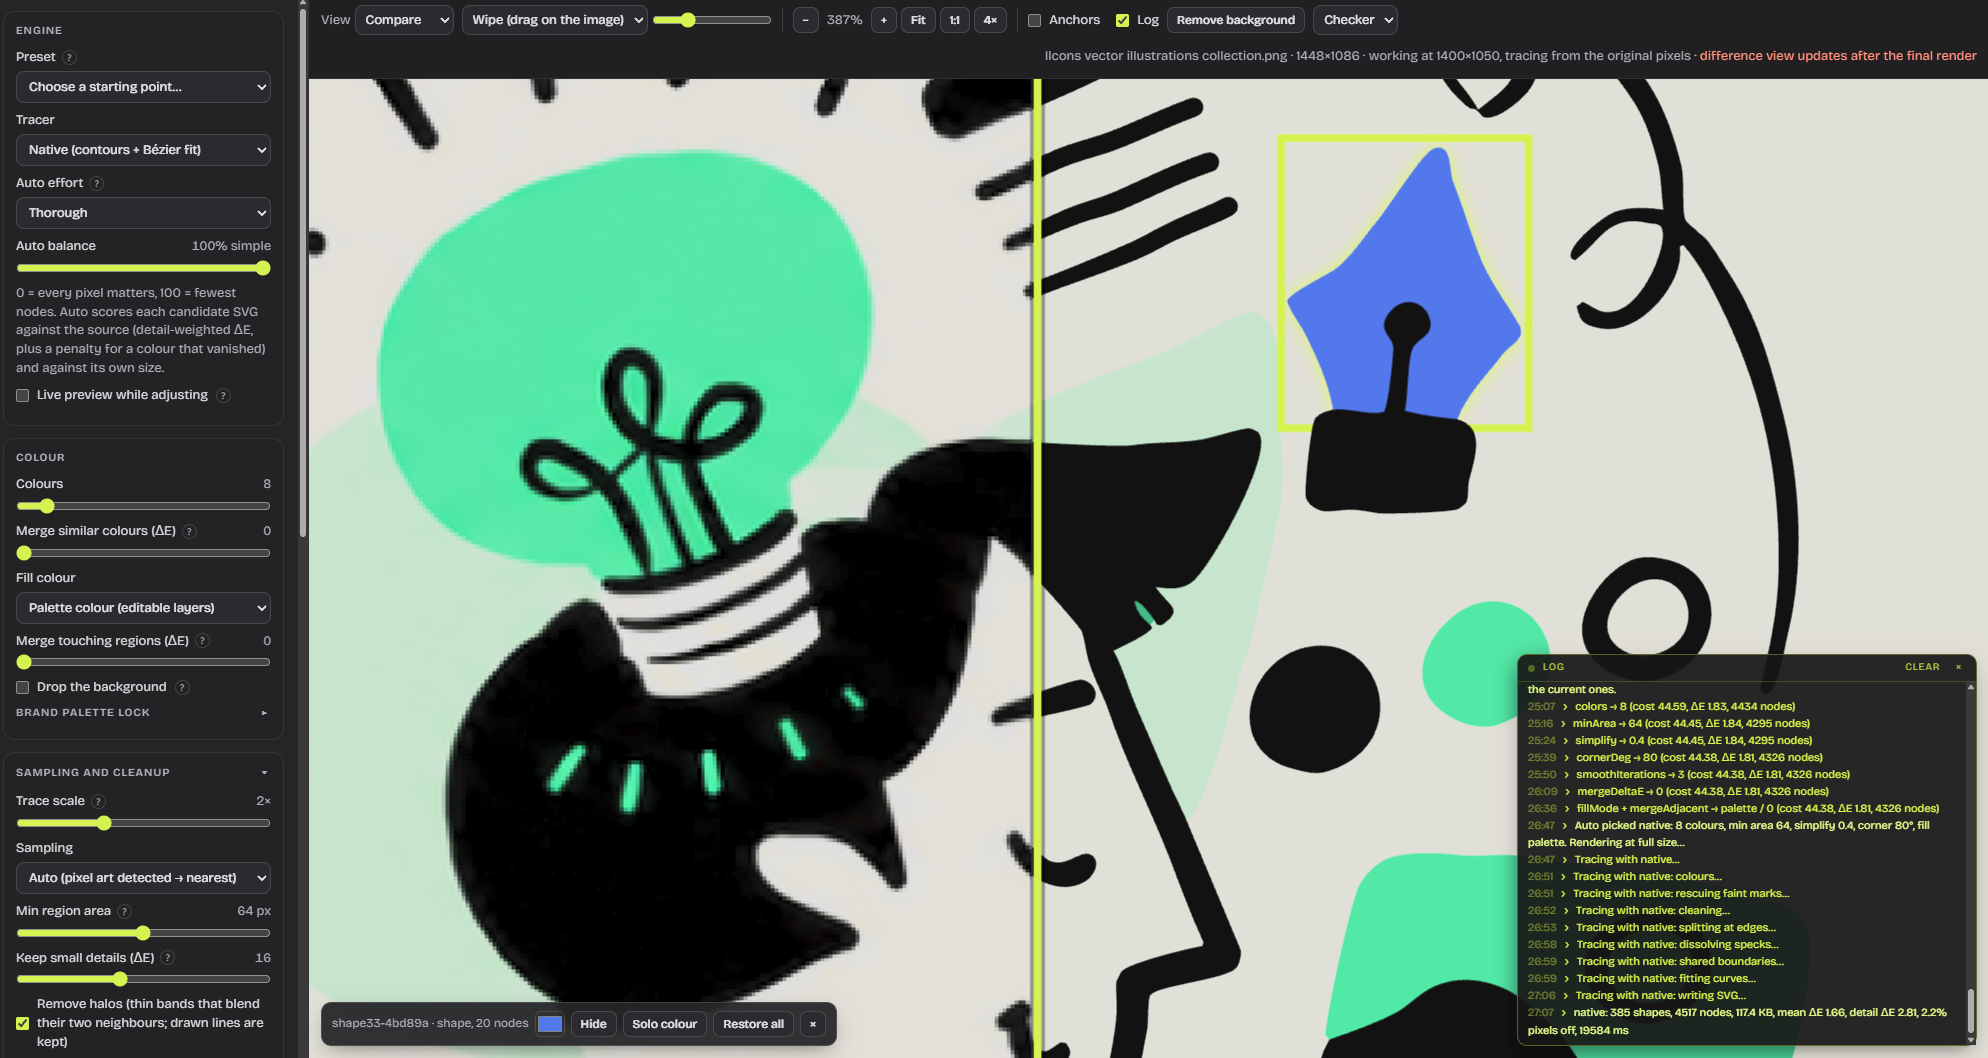
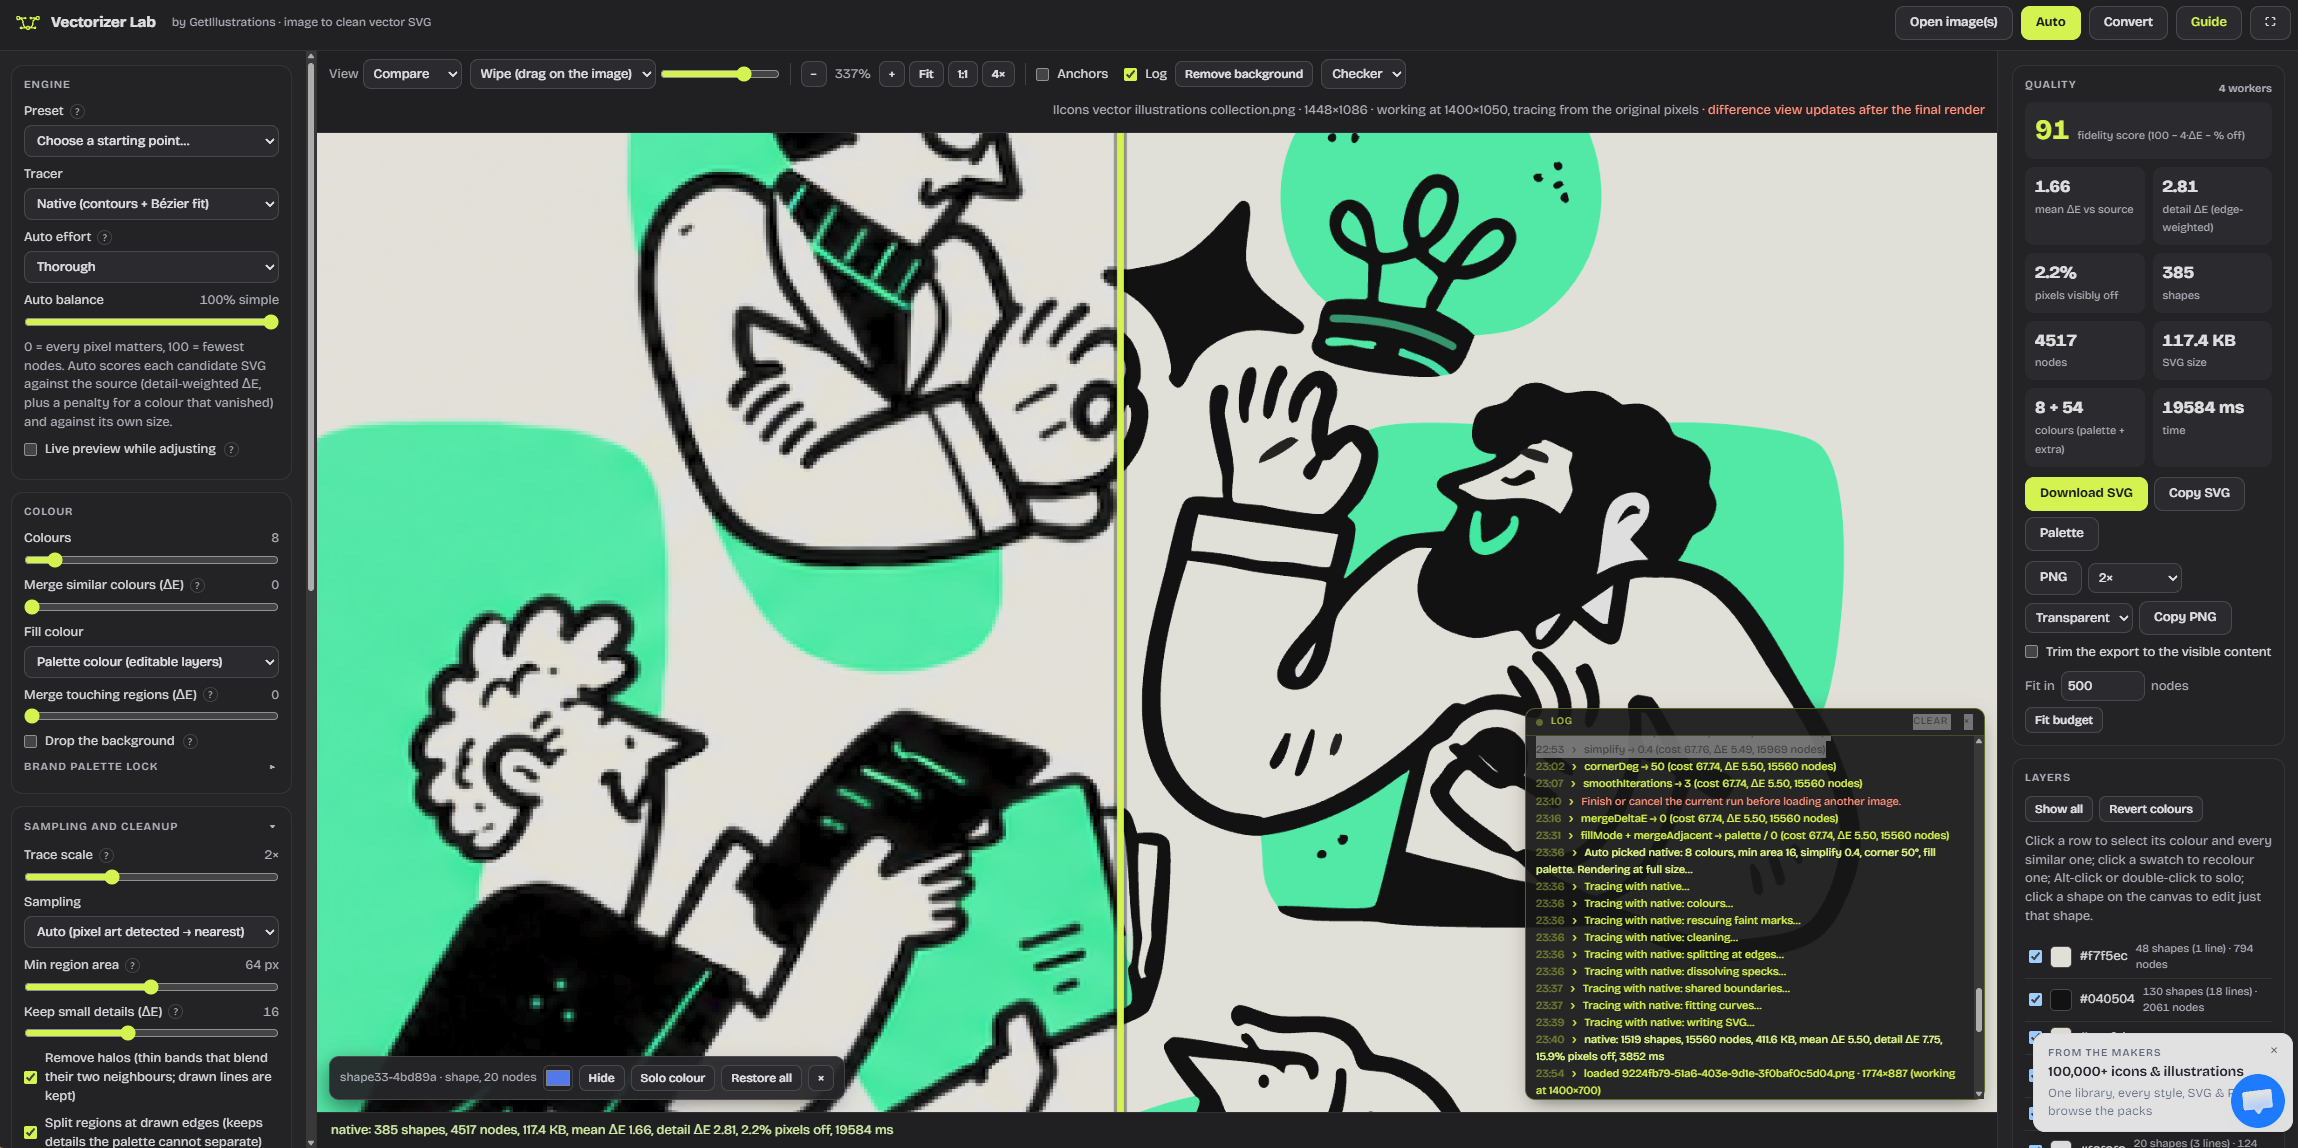
Drop the logo into Vectorizer Lab and pick the logo preset
Open the Vectorizer Lab studio and drop the PNG, JPG, WebP, GIF, AVIF or SVG into it, or paste it from the clipboard. In the Engine panel on the left, open the Preset menu and pick the preset made for icons and logos. It starts at 6 colours, a 60 degree corner threshold and an 8 px minimum region, which is the right starting point for a mark with a few flat colours and crisp corners.
Lock the brand palette to your hex colours
In the Colour panel, open Brand palette lock, tick Use only these colours and paste your hex codes into the box labelled Hex colours (space or comma separated), one per brand colour plus white if the logo has a white knockout. Every region and line now snaps to the nearest listed colour, nothing extra gets added, and Auto keeps the colour count fixed while it searches the rest.
This one switch is what makes the browser route work for logos. Without it, anti aliasing along every edge becomes three or four halfway shades, and you spend the rest of the day merging them.
Press Auto, or set the colour count and press Convert
Press Auto and the tool searches colour count, cleanup, smoothing and fill mode and keeps the candidate with the best score against the source. The search runs on a copy with a 900 pixel long edge and takes about a minute. If you'd rather drive, set the Colours slider to the number of inks in the logo and press Convert, then compare the two results with the Difference view in the stage toolbar.
Click a shape to hide or recolour a stray piece
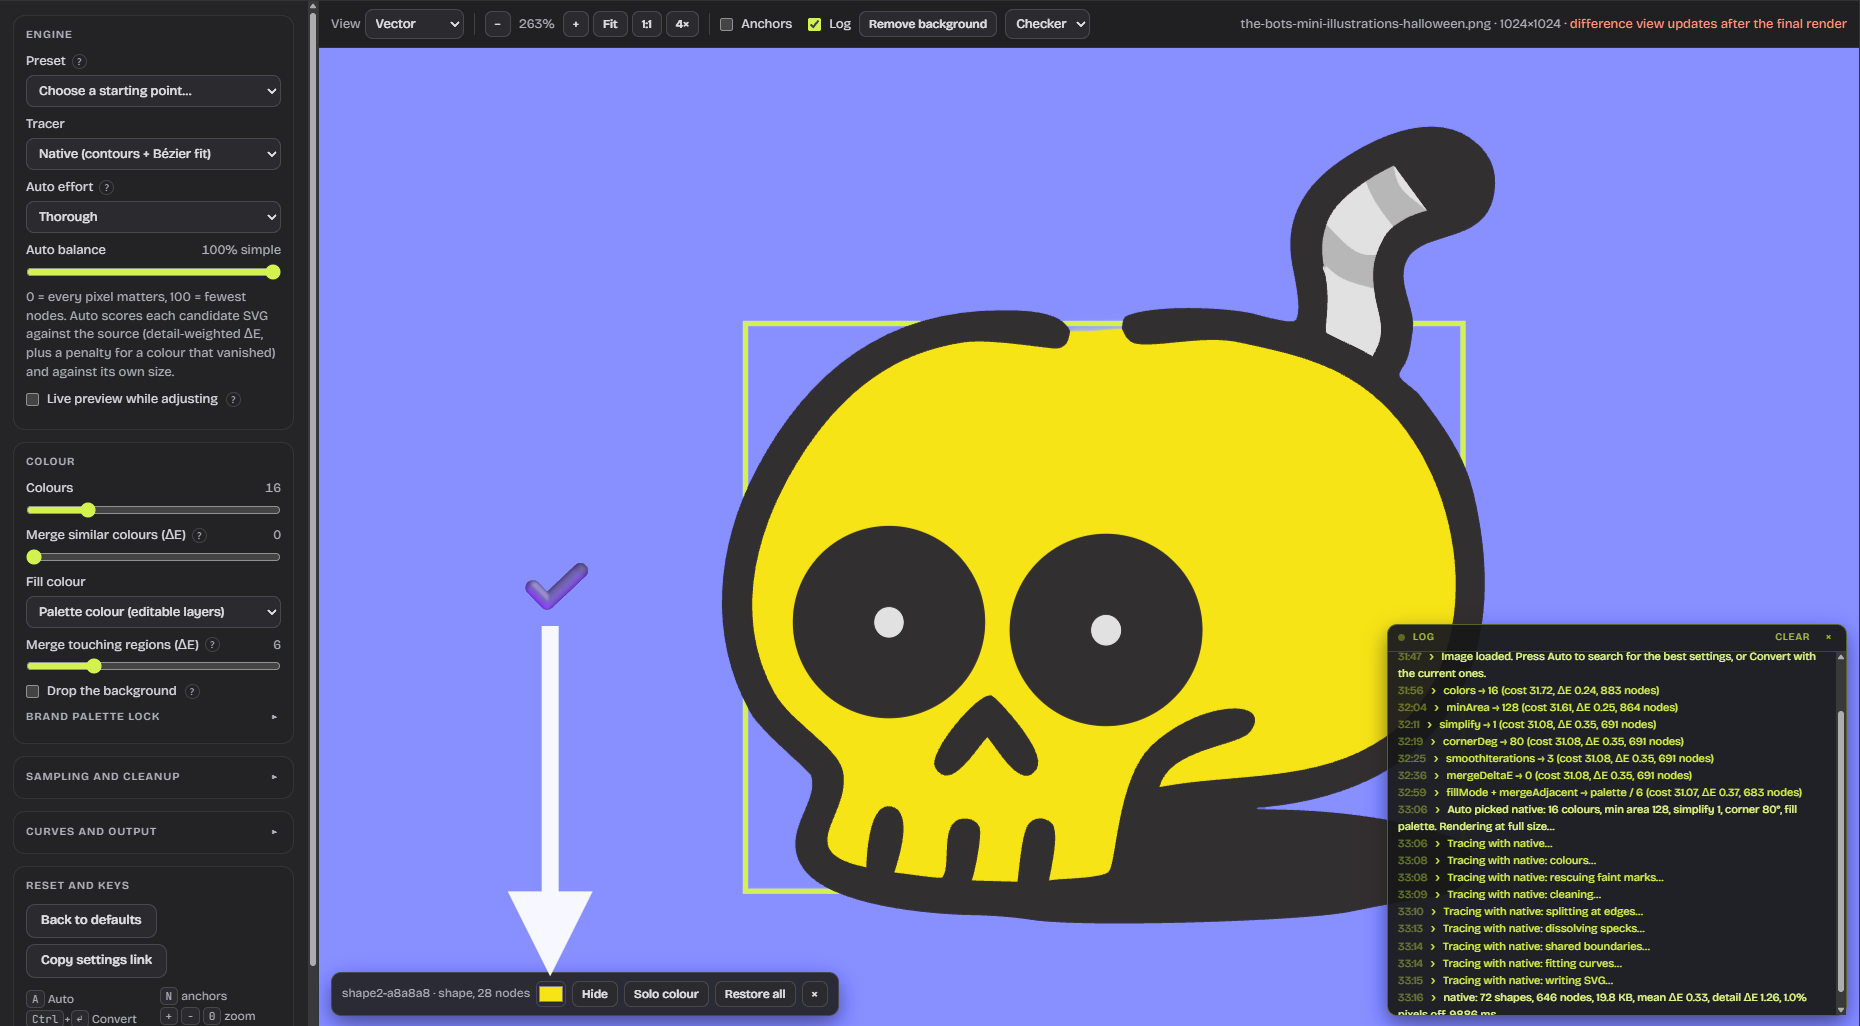
Zoom to 400 percent with the 4x button and look along every edge. When you spot a speck or a sliver that shouldn't be there, click it on the canvas: a small bar appears with a colour picker, Hide, Solo colour and Restore all. Hide drops that one shape, the picker recolours just that one, and the export follows every edit without tracing again.
To fix a whole colour at once, click its layer in the Layers panel on the right instead. That selects every colour within a ΔE range of it, ΔE being the usual measure of how far apart two colours look, so you can merge the near twins into one or recolour them together.
Remove the background, tick Trim and download the SVG
Press Remove background in the stage toolbar. It hides the backdrop and every shape of its colour that touches the image edges, so a white knockout inside the letters stays while the white page around the logo goes. Tick Trim the export to the visible content so the file is cropped tight to what's left, then press Download SVG, or Copy SVG to paste the shapes straight into Figma or Illustrator as editable objects.
The SVG is plain paths with cubic Bézier curves. Lines of an even width come out as real strokes you can thicken later, and circles and boxes come out as ellipses and rectangles, which is a nice surprise the first time a round badge in a traced logo opens as a true circle. If you want a raster copy as well, the PNG export gives you 1x, 2x or 4x on transparent, white or black.
How to vectorize a logo in Illustrator with Image Trace
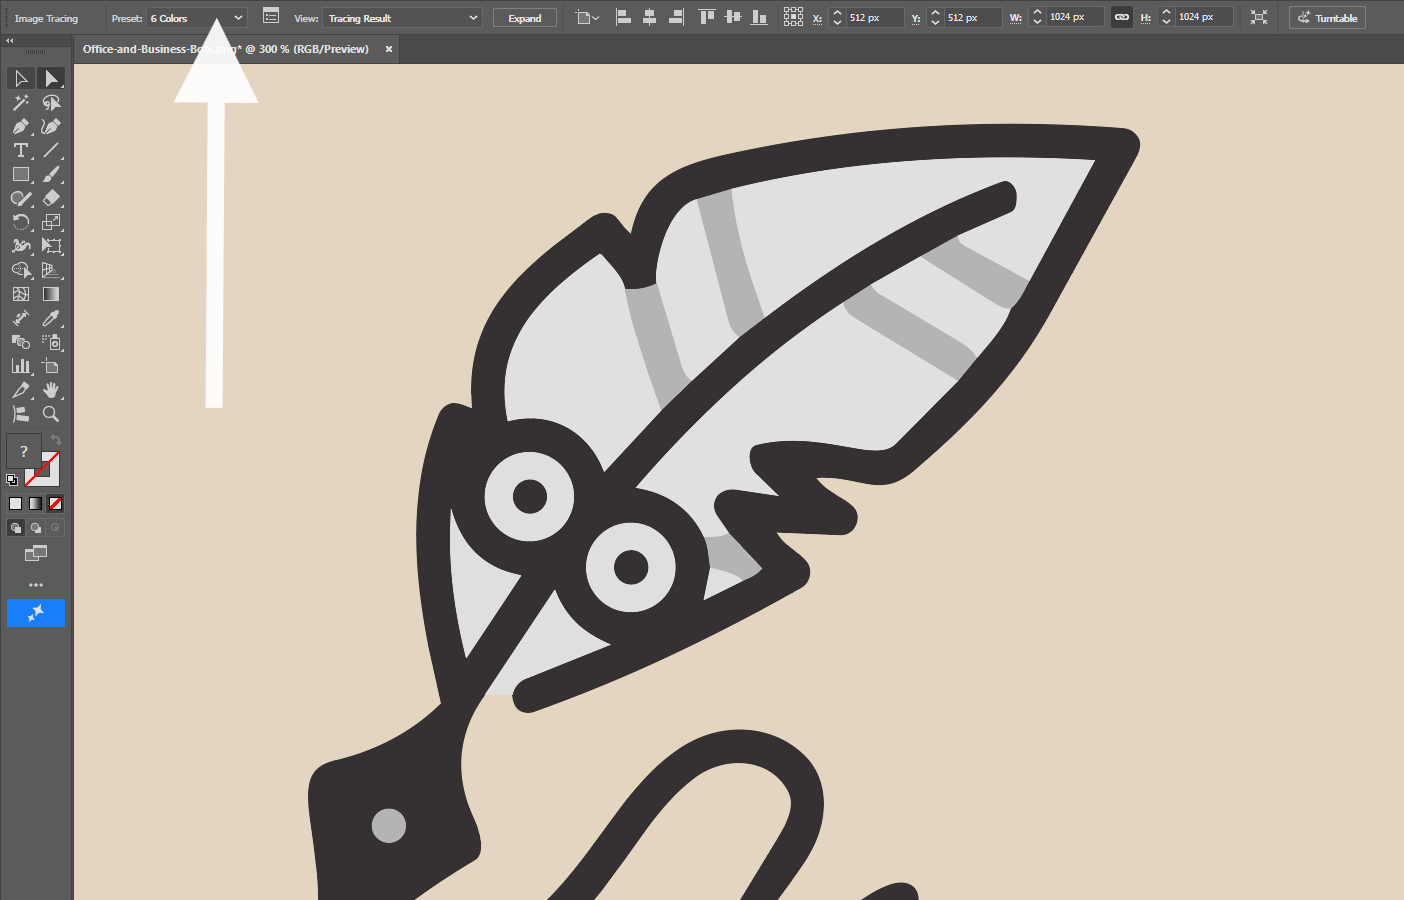
Place the logo and choose a low colour preset
File, Place the PNG, select it and open Window, Image Trace. The presets that matter here are Black and White Logo, 3 Colors, 6 Colors and 16 Colors. Pick the lowest one that covers the inks in the logo: a two colour mark goes on 3 Colors, a full colour mark on 6 Colors, and 16 Colors is almost always too many for a logo.
Set Paths, Corners and Noise for a logo
Open Advanced in the panel. The three sliders that matter are in the table below, with Adobe's own definitions.
| Image Trace slider | What it does | Where to put it for a logo |
|---|---|---|
| Paths | How tightly the trace fits the pixel shape | High, so edges follow the artwork instead of rounding it off |
| Corners | How likely a sharp bend becomes a corner point | High, a logo's corners should stay corners |
| Noise | An area in pixels that is ignored while tracing | 20 to 50 for a high resolution source, 1 to 10 for a small one |
Those Noise numbers are Adobe's own suggestion for high and low resolution images, so treat them as a starting point. On a logo I raise Noise until the specks around the letters disappear and stop before the dots on the i's go with them.
Ignore White and Expand
Tick Ignore White under Advanced so the white page around the logo isn't traced as a shape. Then press the Expand button, or choose Object, Image Trace, Expand. Until you expand, the trace is a live preview and nothing is editable.
Ungroup, delete leftovers and simplify the paths
Object, Ungroup, then click around the empty areas with the Direct Selection tool to find stray white or transparent shapes the trace left behind, and delete them. Select everything and run Object, Path, Simplify to cut the anchor count, and watch the edges so they don't drift. A traced logo carries far more anchors than it needs, and every extra anchor is a chance for a bump.
How to vectorize a logo in Inkscape with Trace Bitmap
Import the logo and open Path then Trace Bitmap
File, Import the PNG, select it, then go to Path, Trace Bitmap, or press Shift Alt B. The two tabs you need are Single scan and Multiple scans. Single scan gives you Brightness cutoff, Edge detection, Color quantization, Autotrace and Centerline tracing, and it produces one shape in one colour, which is fine for a one colour mark.
Use Multiple scans in Colors mode with as many scans as the logo has colours
For a logo with two or more colours switch to Multiple scans and pick Colors. Set Scans to the number of colours in the logo, counting white if there's a white element you need to keep. The range runs from 2 to 256, but a logo lives at the bottom of it, and every scan above the real count becomes a halfway shade you have to clean out.
Stack, Remove background and Speckles
Tick Stack so the colour layers overlap instead of leaving hairline gaps between them, and tick Remove background to drop the page colour. Speckles, Smooth corners and Optimize apply to every mode. Raise Speckles until the dust around the edges goes, keep Smooth corners low for a geometric logo, and press Update to preview before you apply the trace.
Ungroup the result and delete the original bitmap
The trace lands directly on top of the original image, so drag it aside to see both. A multiple scan result comes in as a group: Object, Ungroup it to edit the individual colour shapes. Then select the original bitmap and delete it, otherwise it ships inside your SVG and the printer sees a raster logo with a vector on top.
How to clean up a traced logo so it prints well
This is the section that earns the file an approval instead of a redo. Budget as long for cleanup as for the trace itself, and do it in whichever editor you have: Illustrator, Inkscape, Affinity or Figma all work on a clean SVG.
Delete specks and merge a colour the trace split in two
Turn on outline view, or hide the fills, and look for tiny closed paths floating near the edges. They're invisible at screen size and show up as flecks on a large print.
To merge a colour the trace split in two, select every shape in the stray shade and give it the real one. In Vectorizer Lab that's the layer click from earlier, in Illustrator it's Select, Same, Fill Color, and in Inkscape it's Edit, Select Same, Fill Color.
Straighten corners and fix circles that came out lumpy
Traced straight edges are never quite straight. Select the anchors along an edge and align them, snap the corner points to the grid, and replace any lumpy circle with a real ellipse drawn over the trace at the same size. A circle with 40 anchors is a circle that wobbles when the printer rips it.
Retype the lettering and convert it to outlines
Tracing never gives you live, editable text. The letters come out as shapes, and traced letters are the weakest part of any trace, with soft stems and uneven counters. If you can identify the typeface, retype the wordmark over the trace, match the kerning by eye, then convert it to outlines with Type, Create Outlines in Illustrator or Path, Object to Path in Inkscape, so the printer doesn't need your font installed.
Set the exact brand colours and check the logo on a dark background
Open each colour and type the hex code from your brand sheet, not the value the tracer guessed. Then put the logo on a dark rectangle and on the brand colour itself, where a white halo that hid on a white page shows up immediately, and so does a knockout that should be transparent and came out as a white fill.
Our SVG color editor is a quick place to swap any colour the tracer got wrong without opening a desktop app.
How to check a vectorized logo before you send it to a printer
Zoom to 400 percent and look at every edge
Go round the whole logo at 400 percent, including the parts that look fine from a distance. You're looking for bumps on straight lines, pinched curves where two shapes meet, and hairline gaps between colour layers. Anything you can see at 400 percent on screen will be visible on a banner at arm's length.
Make sure it is a real vector, not a PNG wrapped in a PDF
A file ending in .pdf, .ai or .eps is not automatically vector, and AI image generators output raster even when you ask them for a vector style. The quick test is to open the file and zoom to 800 percent: real vectors stay crisp, a wrapped raster goes soft. In Illustrator, open Window, Document Info and choose Objects from its menu to see whether the file holds paths or an embedded image.
Mind the minimum line and text sizes for embroidery
Measure the thinnest line and the smallest text at the size the logo will be stitched. Custom Ink's embroidery tips put the floor at 0.05 inches for a line and 0.25 inches for text, and gradients and halftones are out. If the tagline under the logo falls below that, drop it from the embroidery version rather than letting the machine turn it into a blur of thread.
Which formats printers accept and how to get them from an SVG
Most shops take AI, EPS, SVG or an editable PDF. Vectorizer Lab exports SVG and PNG only, so for the other three open the SVG in Illustrator, Inkscape or Affinity and Save As or Export to the format the shop named. Keep the SVG as your master, because it's the one every tool opens, and send the printer a PDF with the text outlined if they didn't specify.
When tracing is not enough and you should redraw the logo
Gradients, photos and very small lettering
Some logos won't trace well no matter what you do. A gradient becomes bands, a photographic element becomes posterised blobs, and lettering under about 30 pixels tall comes out as mush because there aren't enough pixels per letter to trace. If your source has any of those, treat the trace as a guide to draw over.
Redraw it with the pen tool over the trace
Lock the trace on a layer at 50 percent opacity and draw over it with the pen tool, using the trace for position and your eye for the shapes. Circles get drawn as circles, straight lines as two anchor segments, and the wordmark gets retyped. It takes an hour for a simple mark and it's the only route that gives you a logo you'd be happy to see on the side of a van.
Where our illustrations and icons fit when you build the rest of the brand
Once the logo is clean you usually need artwork around it, starting with a hero for the website and icons for the app. Every illustration in the GetIllustrations library begins with a human illustrator, and each pack page lists its file formats, so you can pick packs that come as SVG and skip the tracing altogether. You can search the whole library by subject at icons and illustrations and recolour the SVGs to the same brand hex codes you just locked the logo to.
Four packs carry a Remixed by AI label, and even those start from an illustrator's own drawings. If the brand wants a flat, few colour look that sits well beside a traced logo, the illustration packs page lets you filter by style, and the icon packs cover the UI side.
Frequently asked questions about vectorizing a logo
Can I vectorize a logo for free without Illustrator
Yes. Vectorizer Lab runs in the browser with no account and no watermark, and Inkscape is free desktop software with a capable tracer. Vector Magic shows a free preview but asks for a purchase before you can download, and Sticker Mule's Redraw is a paid service that sends back a proof within a few hours, so read the small print before you upload to either.
Will the text in my logo stay editable after vectorizing
No, every tracer, ours included, turns letters into shapes, because it sees pixels and not fonts. If you need editable text, identify the typeface, retype the wordmark over the trace, and then convert it to outlines for the printer. Keep a copy with live text for yourself.
Can I vectorize a logo from a screenshot or a low resolution JPG
You can, and the result will be rough in proportion to how small the source is. Upscale it first in Upscaler Lab, lock the palette to the brand colours so the JPG noise doesn't become extra shades, and expect to spend real time on cleanup. Below about 150 pixels wide you're better off treating the trace as a reference and redrawing.
Is a vectorized logo good enough for embroidery
A clean vector is what the embroiderer needs from you, but it isn't the stitch file. They digitise it into machine instructions, and they'll want lines at least 0.05 inches thick and text at least 0.25 inches tall at the finished size, with no gradients. Send the vector plus the finished size in inches and let them do the digitising.
Who owns the vector version of a logo I traced
Tracing doesn't change who owns a logo. The trademark stays with its owner, whether that's you, your client or your employer, and a vector copy of someone else's mark is still their mark. Anything you make in Vectorizer Lab from your own images is yours to use however you like, and our own illustrations follow the licence of the pack they came from, which is spelled out on the licence page.
Keep the cleaned SVG master somewhere you'll find it in two years. The printer will ask again.
When the logo is done and the website needs artwork beside it, search icons and illustrations for your industry, then recolour the SVGs you pick to the hex codes already on your list.